 Afrikaans
 العربية
 български
 বাংলা
বাংলা
 Čeština
 Dansk
Dansk
 Deutsch
 Ελληνικά
 English (US)
 Español
 فارسی
فارسی
 Suomi
Suomi
 Français
 עִבְרִית
 हिन्दी
 Bahasa Indonesia
 Italiano
 日本語
日本語
 한국어
한국어
 Latviešu valoda
 Bahasa Melayu
 Nederlands
 Norsk Bokmål
 Polski
 Português
 Русский
 Kiswahili
 Svenska
 ไทย
ไทย
 Türkçe
 Українська
 Tiếng Việt
 简体中文
简体中文
 繁體中文
繁體中文
Goal
This guide explains how to set up the BigBlueButton activity in Moodle 4 using your Big Blue Meeting account. Once configured, you can create online meeting rooms directly inside your Moodle courses, start sessions, and manage recordings seamlessly.
Moodle 4 includes BigBlueButton as a part of the core download – no need to download the plugin separately. Just follow the instructions below and you’ll be running your first meeting in under 5 minutes.
Requirements
- A working Moodle 4 site with administrator access.
- An active Big Blue Meeting account (free trial available).
- Your BigBlueButton Endpoint URL and Shared Secret from the Big Blue Manager (found under BigBlueButton → API / GUI → Moodle).
Setup Steps
Part 1: Configuring the BigBlueButton Plugin
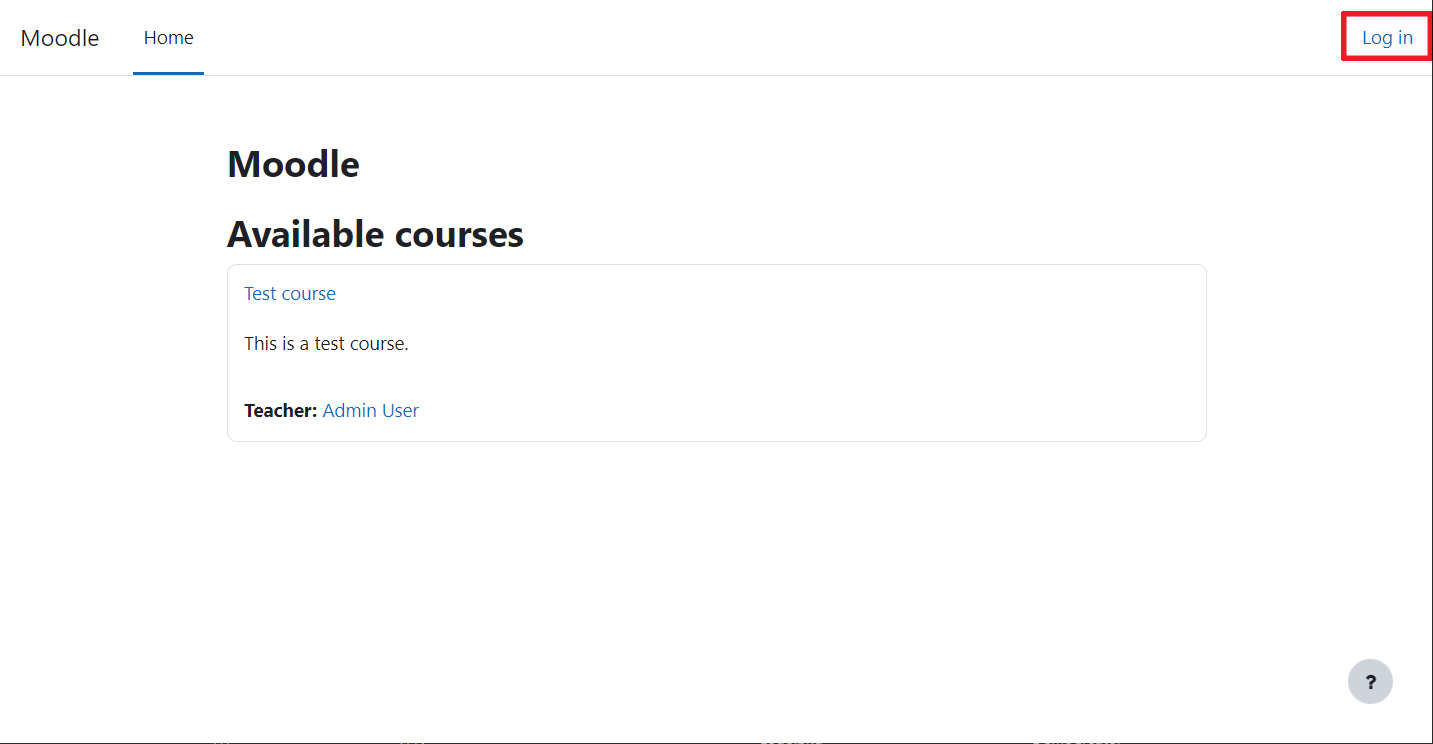
Step 1: Log in to your Moodle site
Navigate to your Moodle 4 site and click the Login button or link.
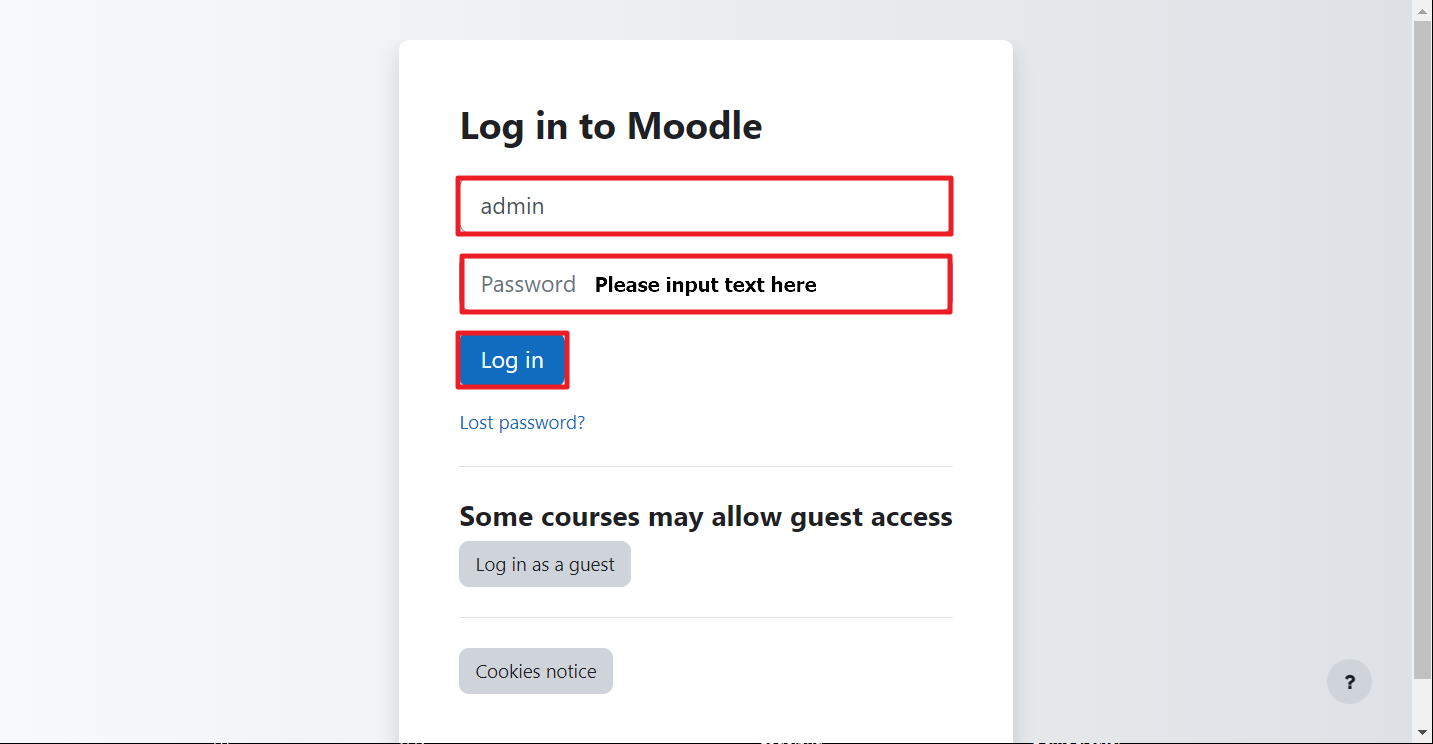
Step 2: Log in as administrator
Use your administrator credentials to log in.
Step 3: Open the Site administration menu
From the left‑hand navigation, click the Site administration link.
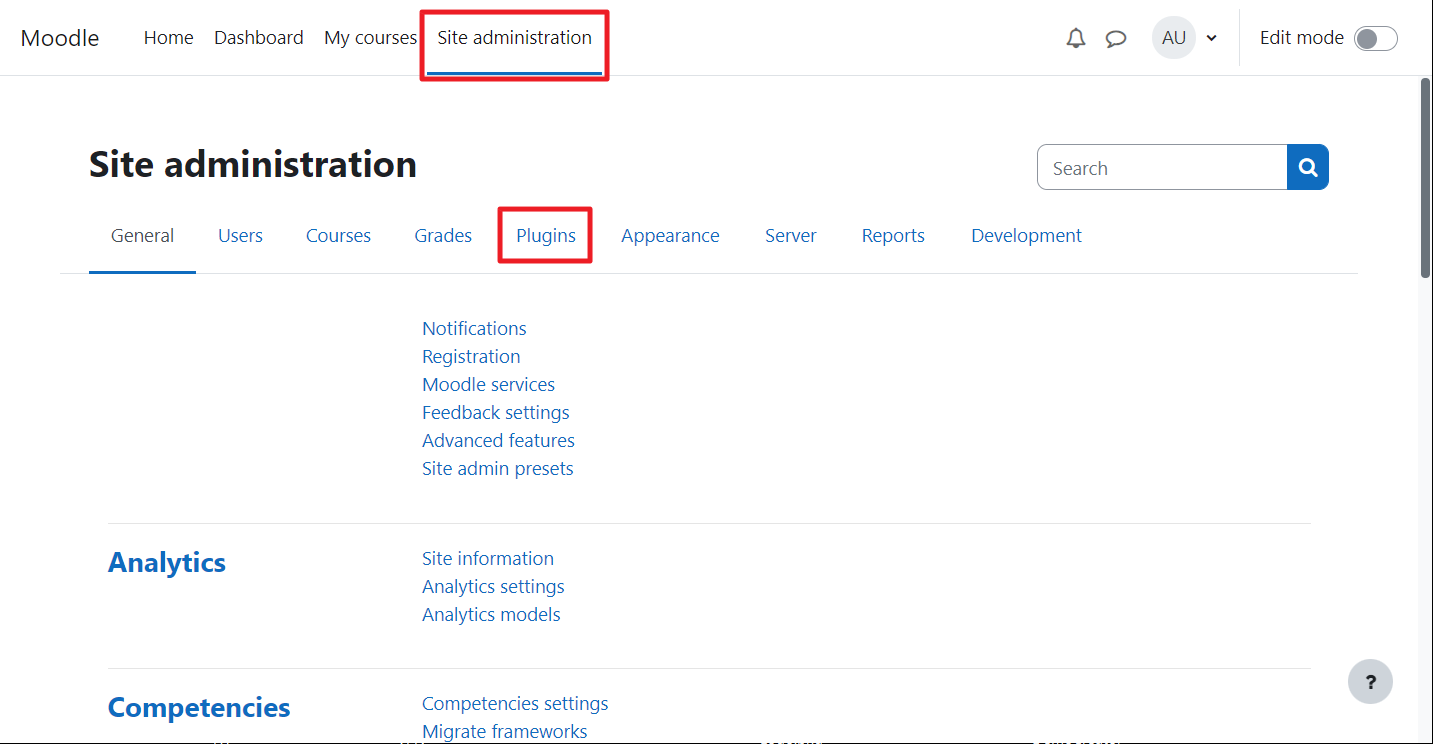
Step 4: Go to the Plugins tab
Under Site administration, select the Plugins tab.
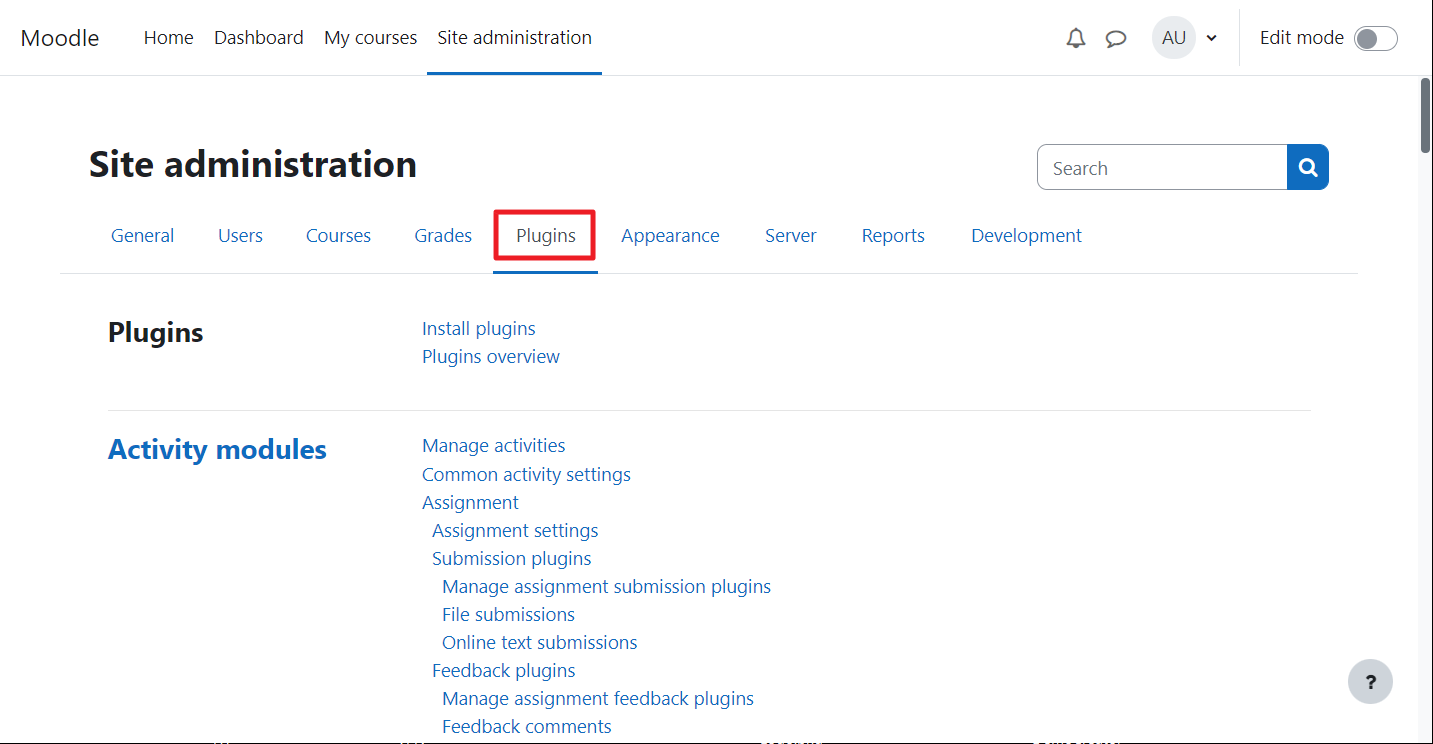
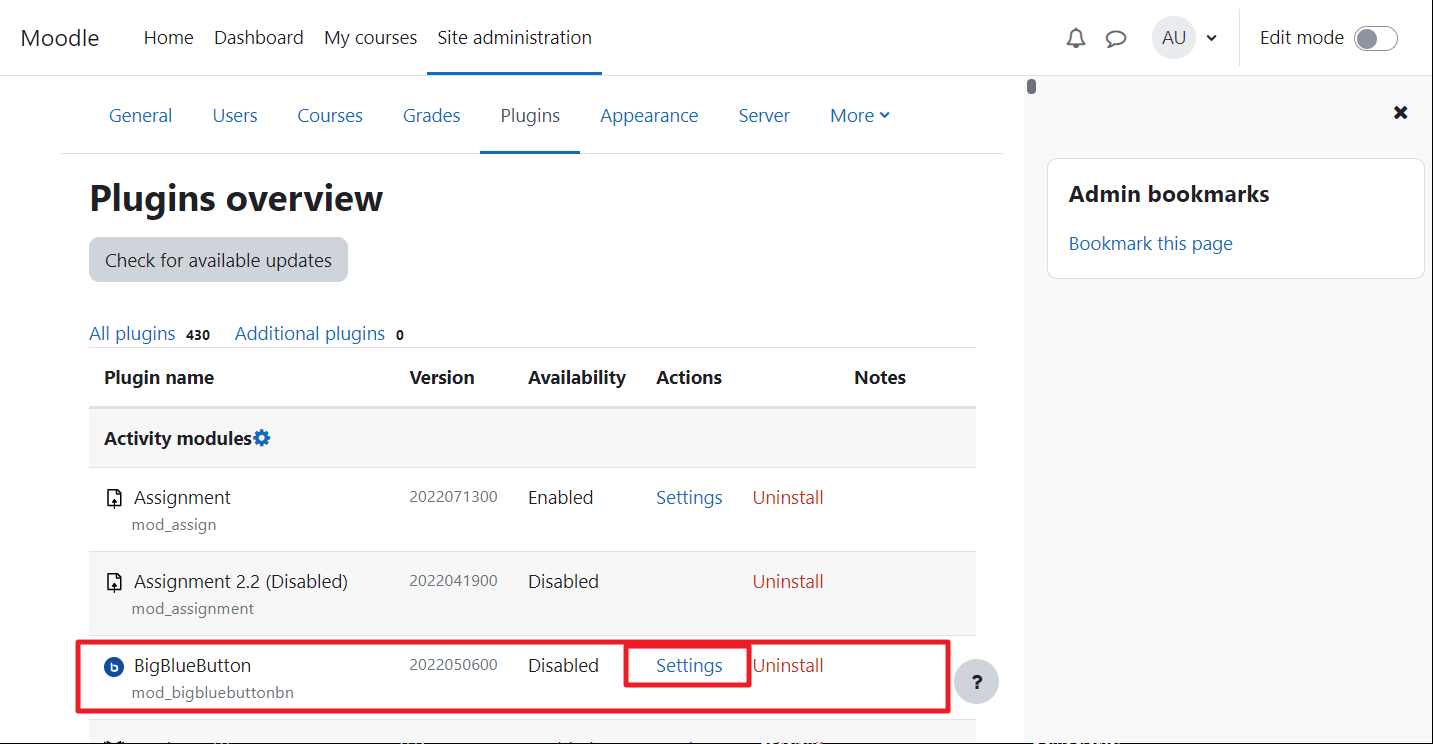
Step 5: Find BigBlueButton and click Settings
Locate the BigBlueButton plugin in the list and click its Settings button.
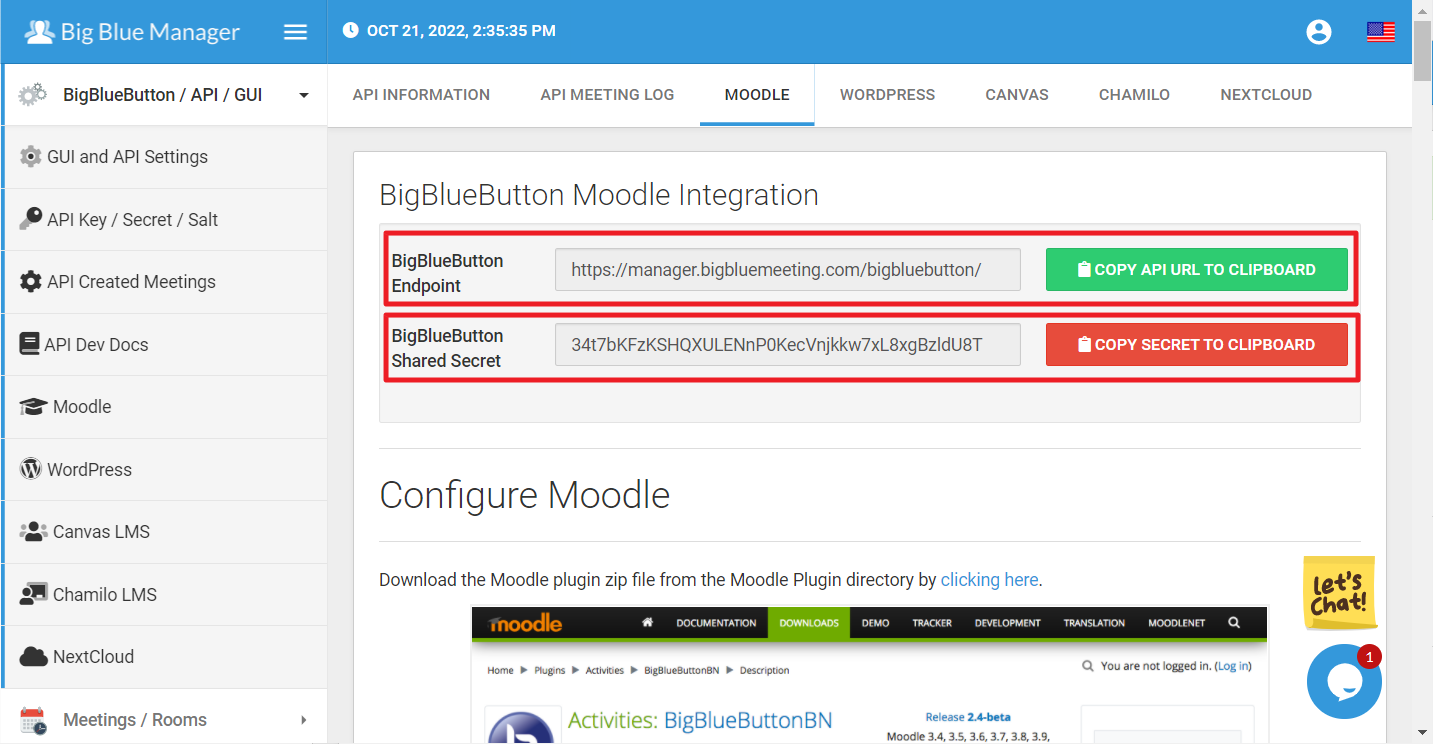
Step 6: Obtain your API credentials from Big Blue Manager
In a new tab, log in to Big Blue Manager and navigate to BigBlueButton → API / GUI → Moodle. Copy the BBB Endpoint and BBB Shared Secret.
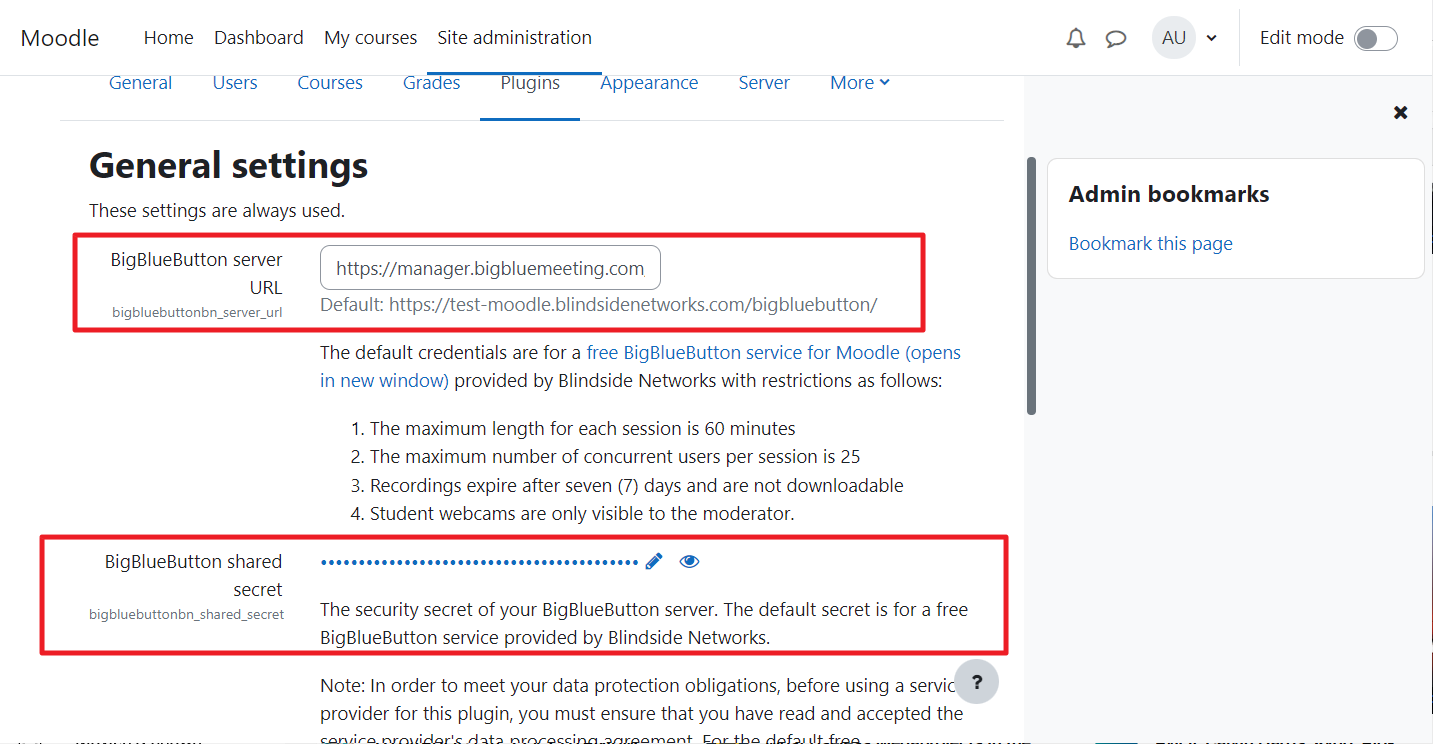
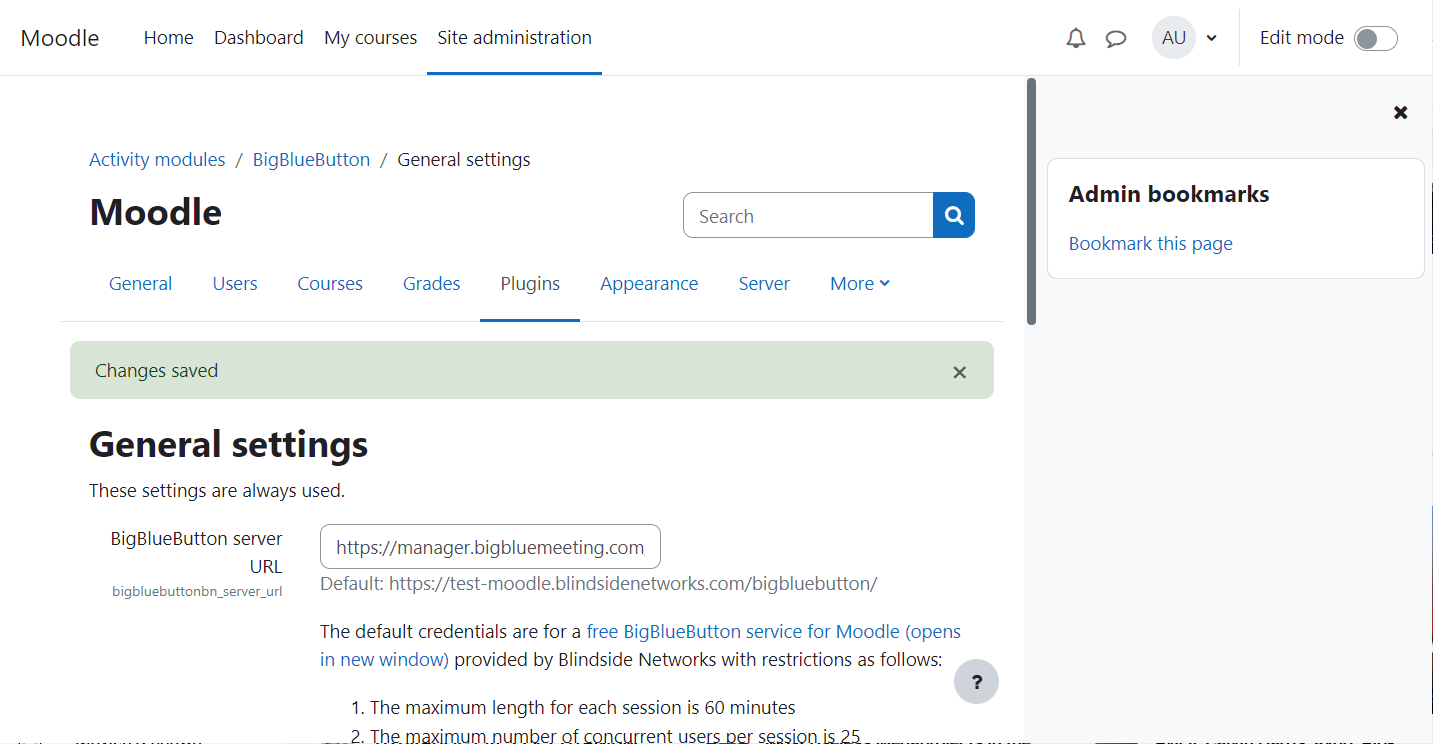
Step 7: Paste the endpoint and secret into Moodle
Return to Moodle and paste the URL (endpoint) and Salt (shared secret) into the corresponding fields on the General settings page.
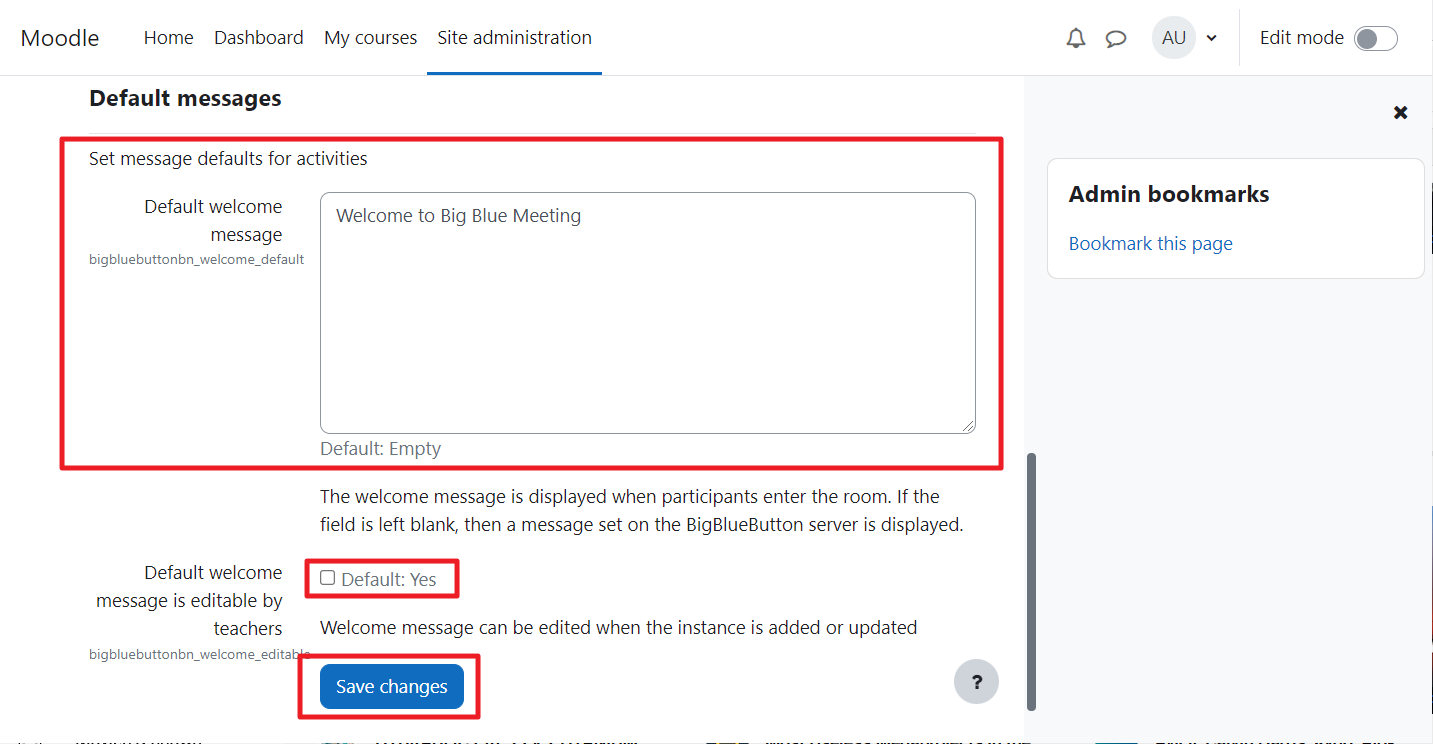
Step 8: Customise the welcome message (optional)
You can set a Default welcome message that will appear in the BigBlueButton chat window. Tick the box if you want teachers to be able to edit it. When you’re done, click Save changes.
Step 9: Confirm settings are saved
After saving, you’ll see a confirmation that the BigBlueButton settings are now stored.
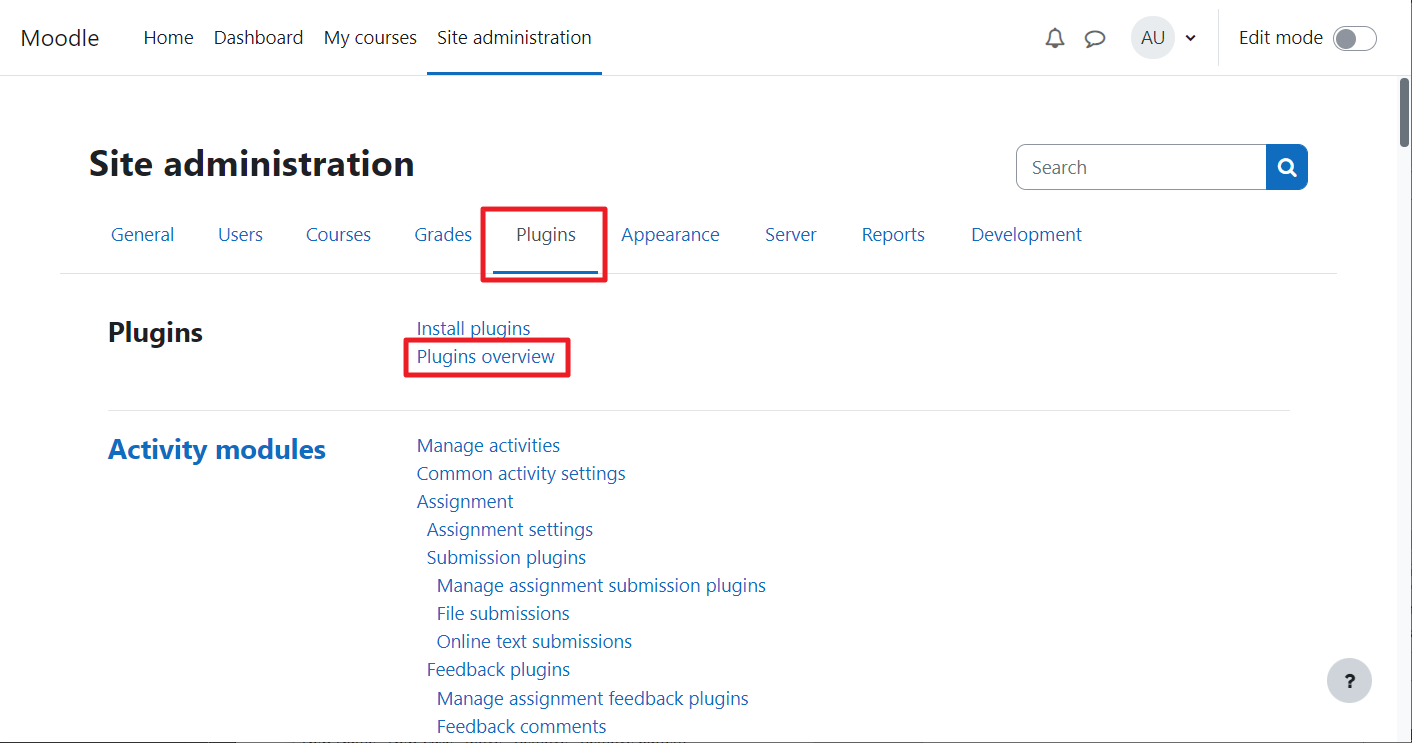
Step 10: Return to the Plugins overview
Click the Plugins tab again, then choose Plugins overview from the submenu.
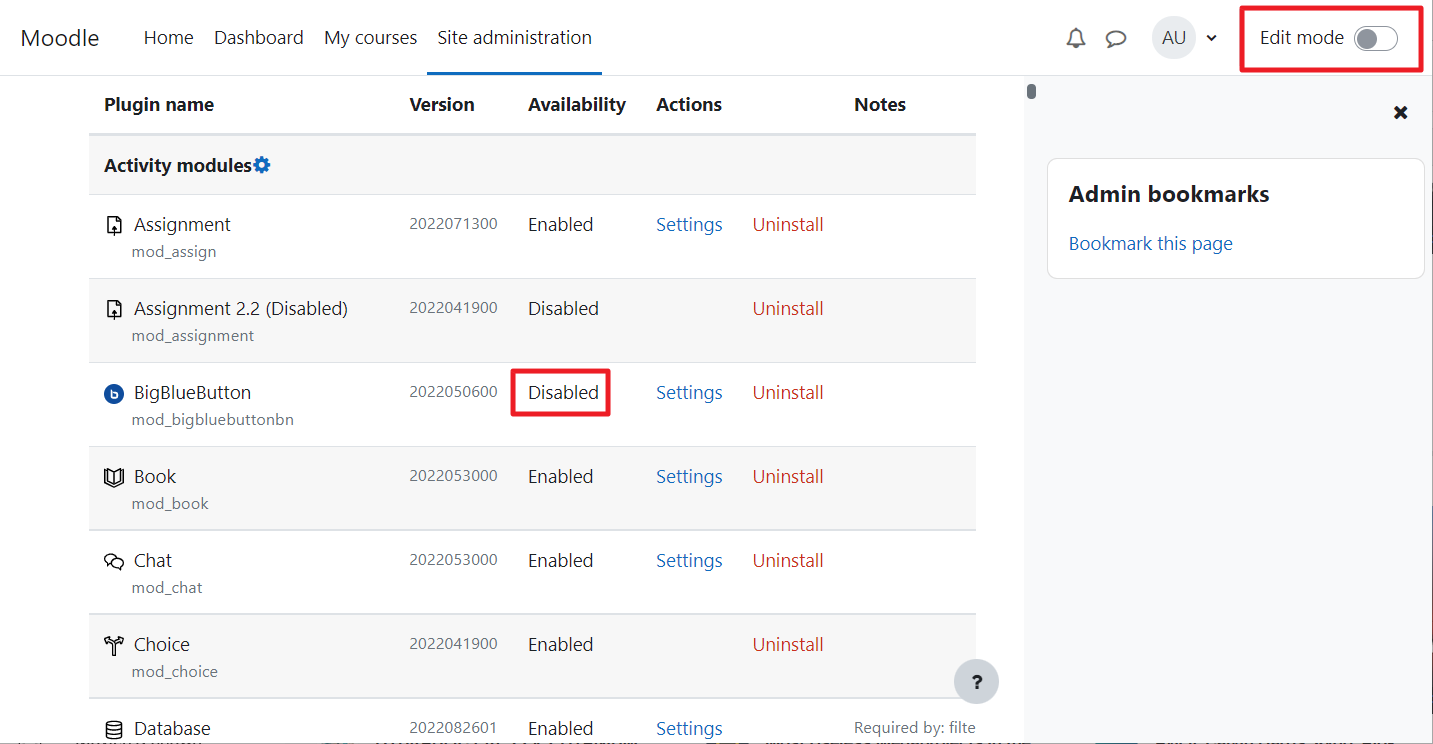
Step 11: Enable the plugin (turn on Edit mode)
You’ll notice the BigBlueButton plugin is currently disabled. To enable it, turn on Edit mode by clicking the toggle button in the top right corner.
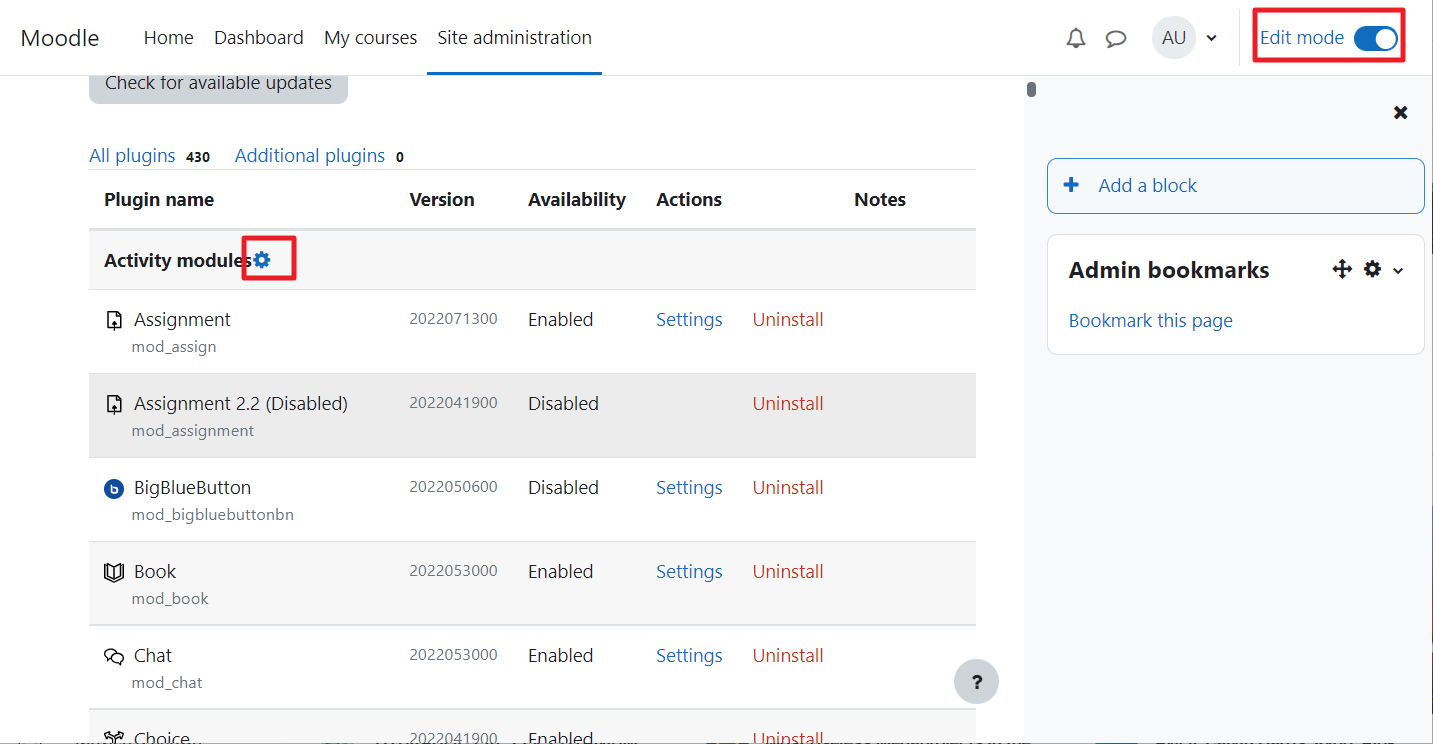
Step 12: Open the activity modules management
With Edit mode on, you’ll see a gear icon next to Activity modules. Click that gear.
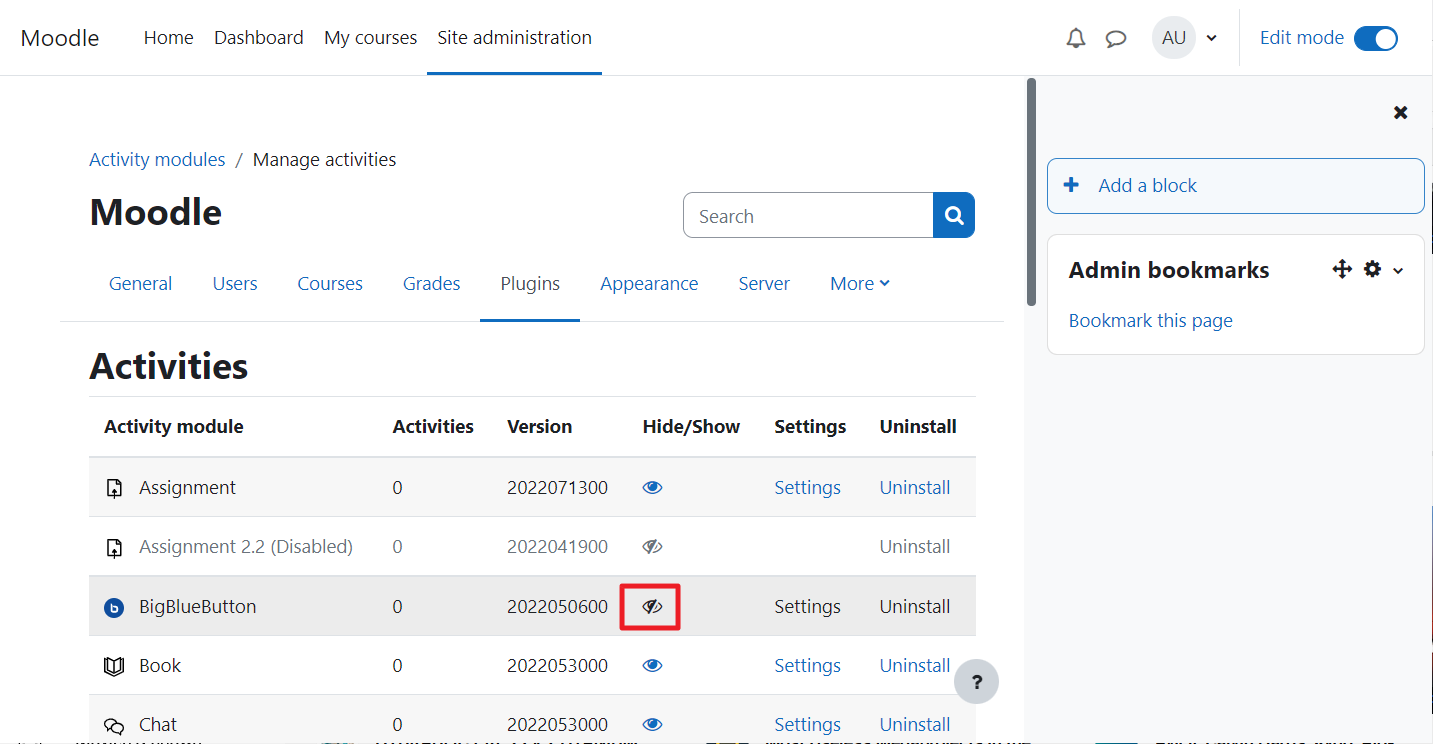
Step 13: Enable the BigBlueButton activity
The eye icon next to BigBlueButton is crossed out (disabled). Click it to enable the activity – the icon will turn blue.
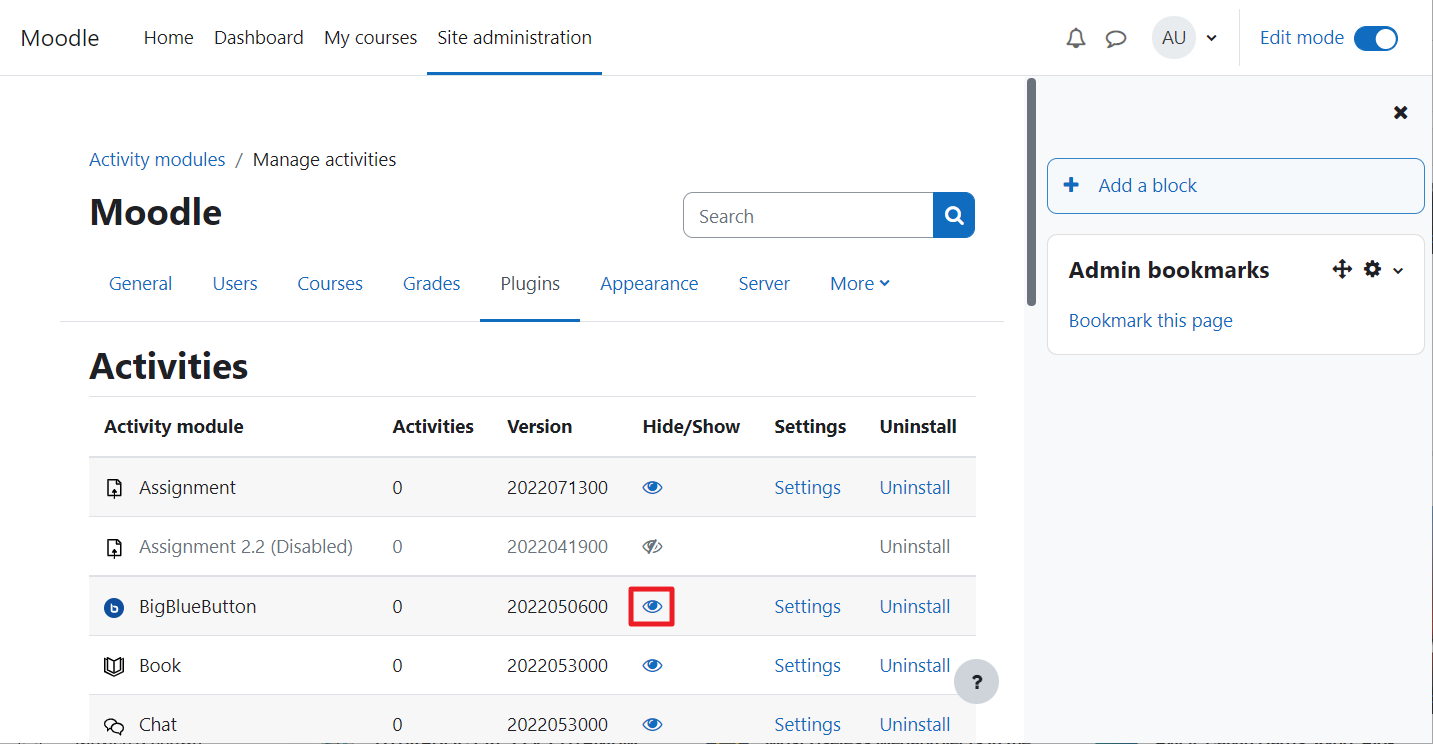
Step 14: Confirm the activity is now enabled
The eye icon should now be blue, indicating that the BigBlueButton activity is active.
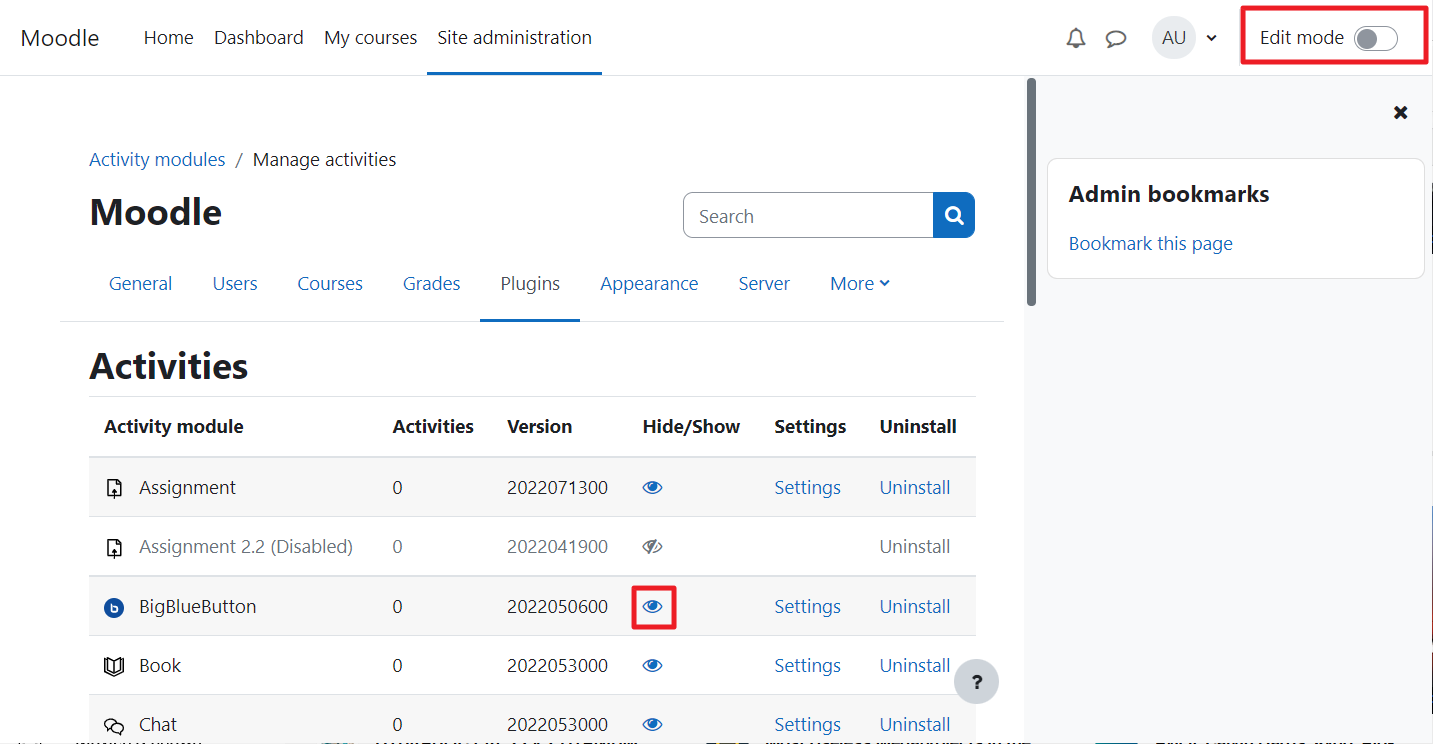
Step 15: Turn off Edit mode
Click the Edit mode slider again to disable it.
Step 16: Go back to Plugins overview
Navigate again to Plugins → Plugins overview to verify the status.
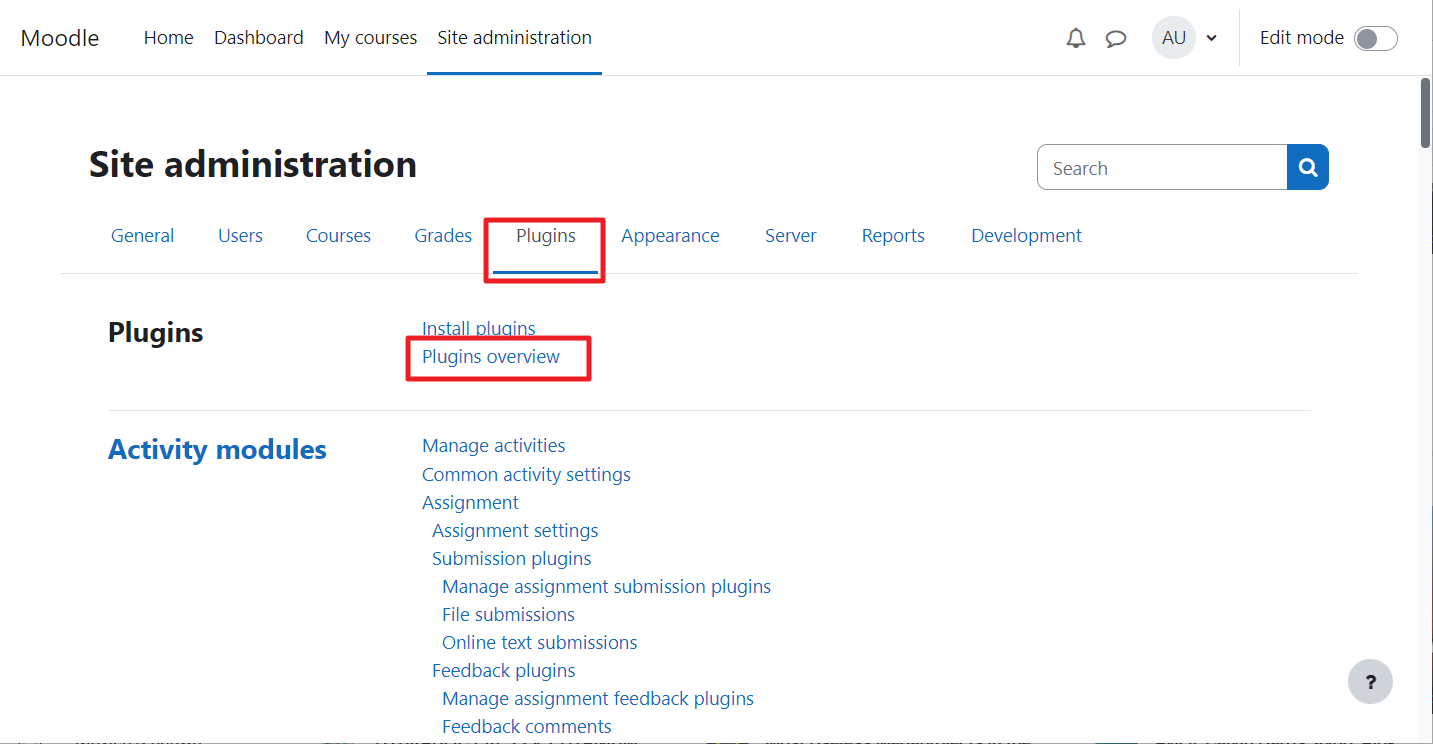
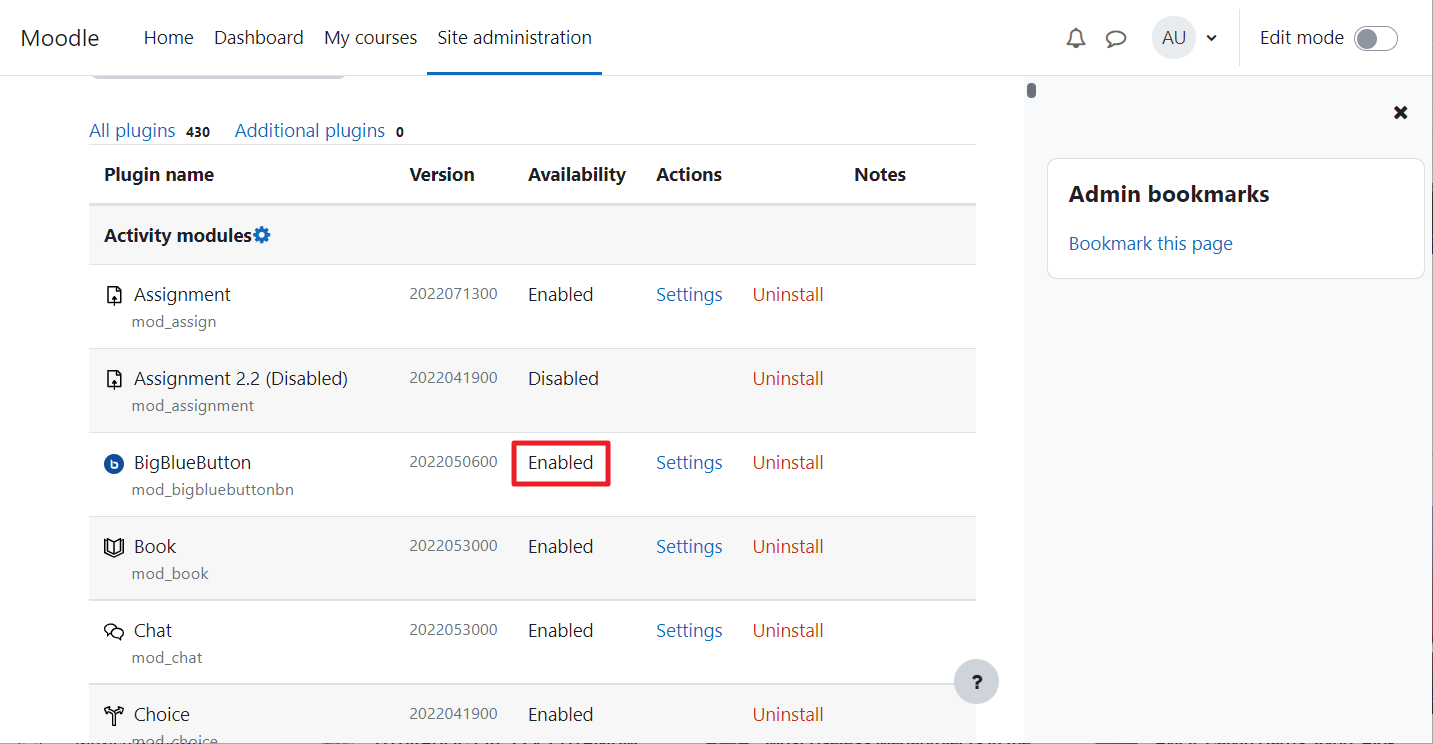
Step 17: Confirm the plugin is enabled
You should now see that the BigBlueButton activity is enabled in the overview.
Part 2: Adding a Room (Site or Course Activity)
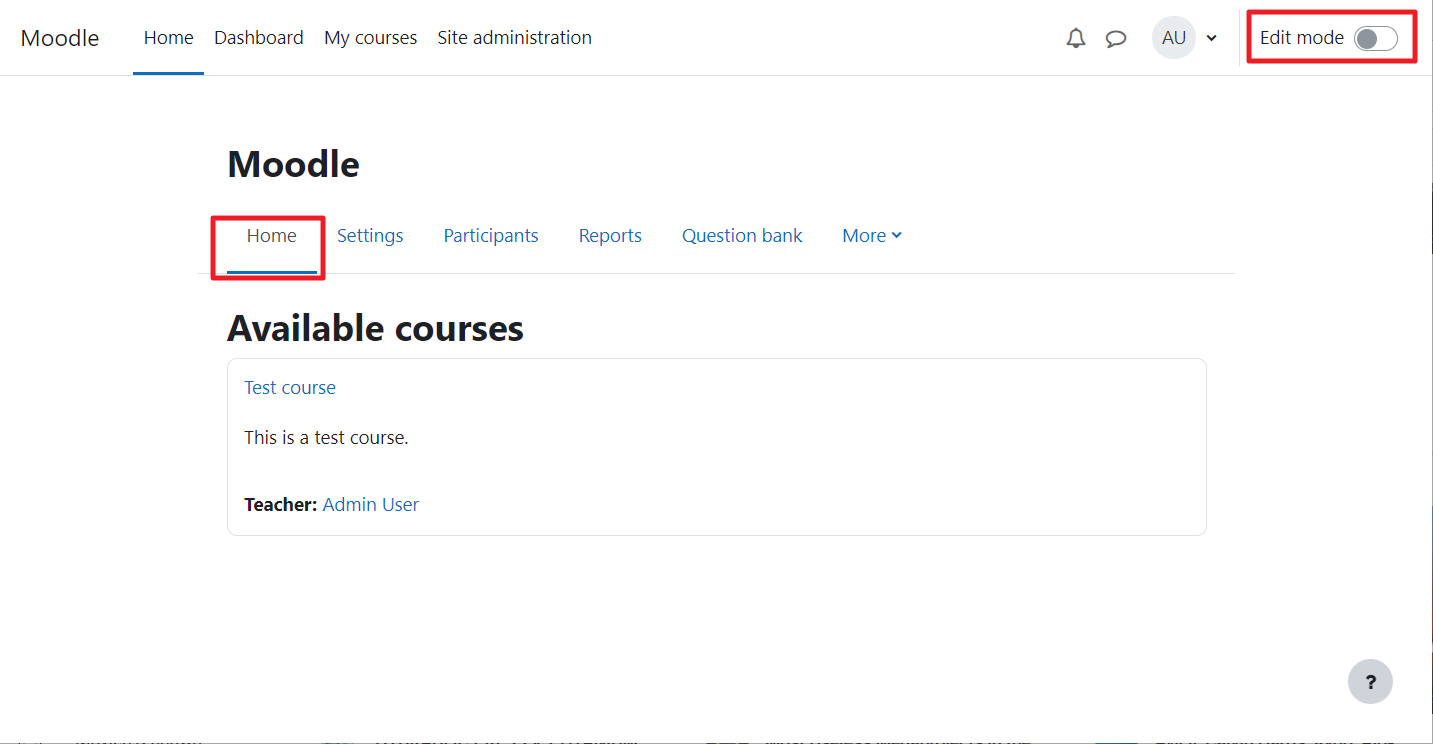
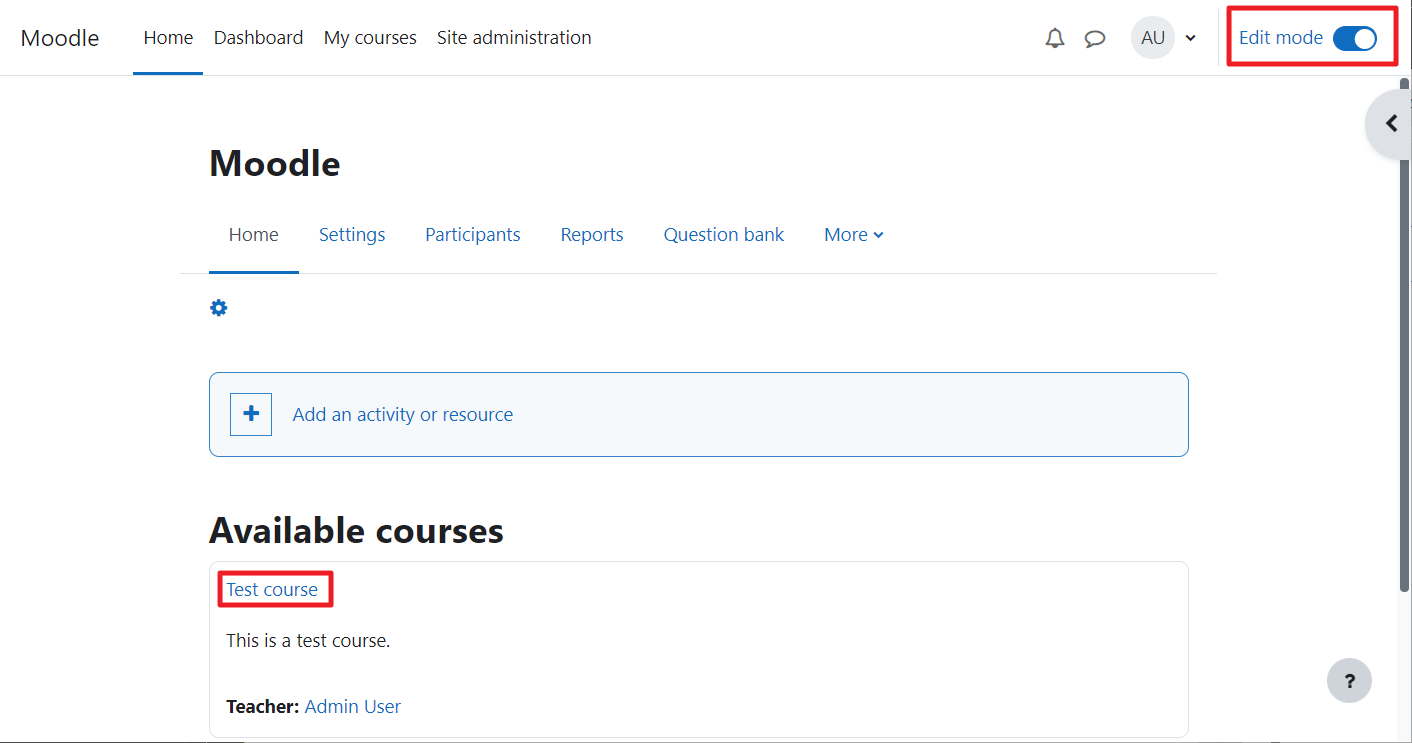
Step 18: Turn on Edit mode on the Home page
Go to the Home tab and enable Edit mode.
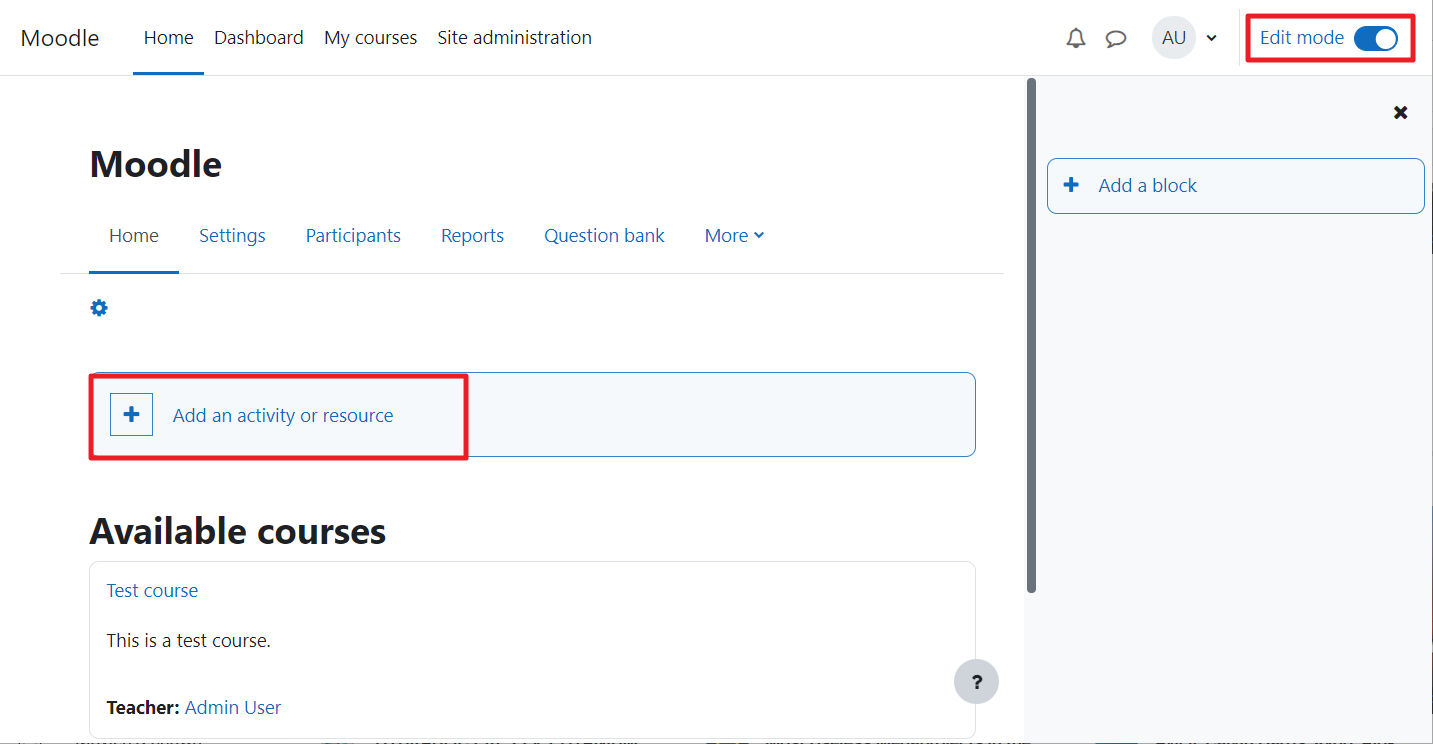
Step 19: Add an activity to the site
Click Add an activity or resource to create a site‑wide BigBlueButton room (optional – you can also add it to a course, as shown later).
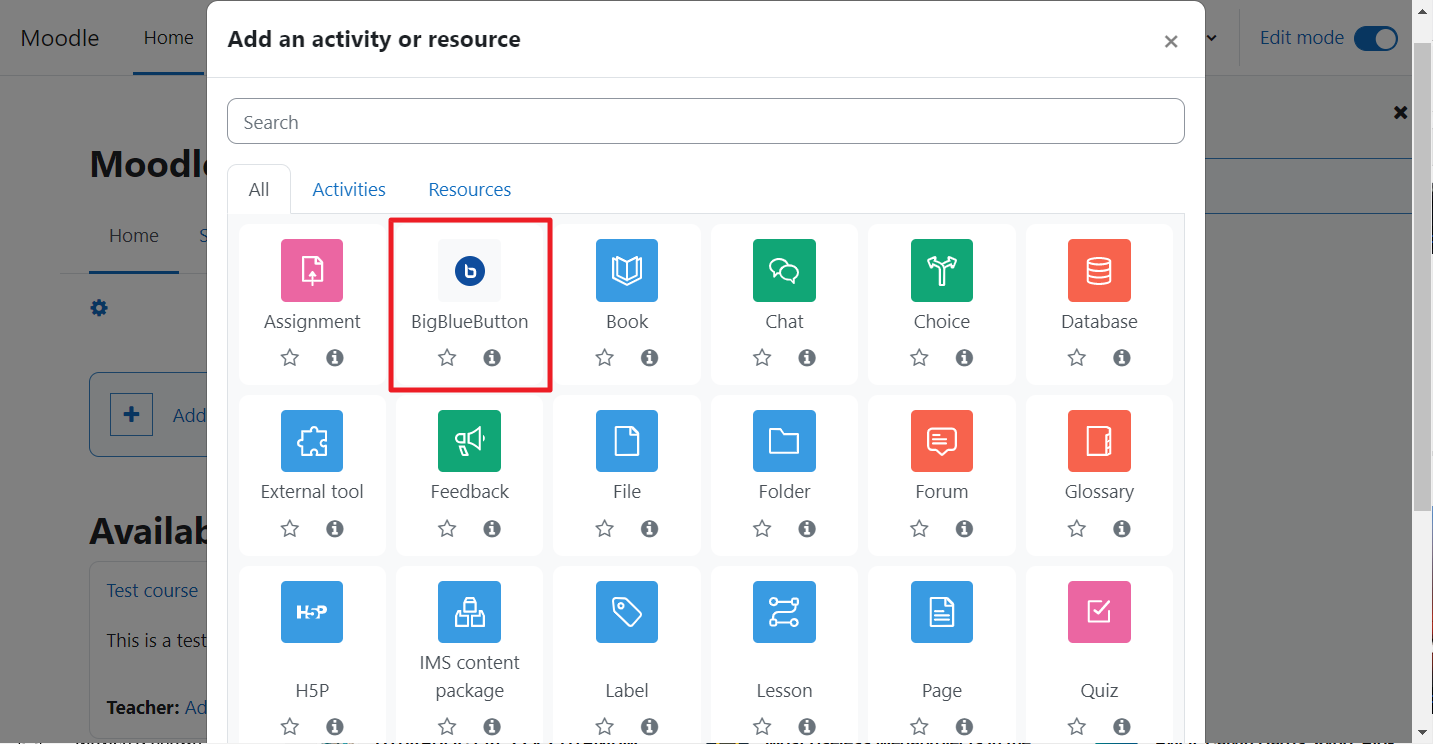
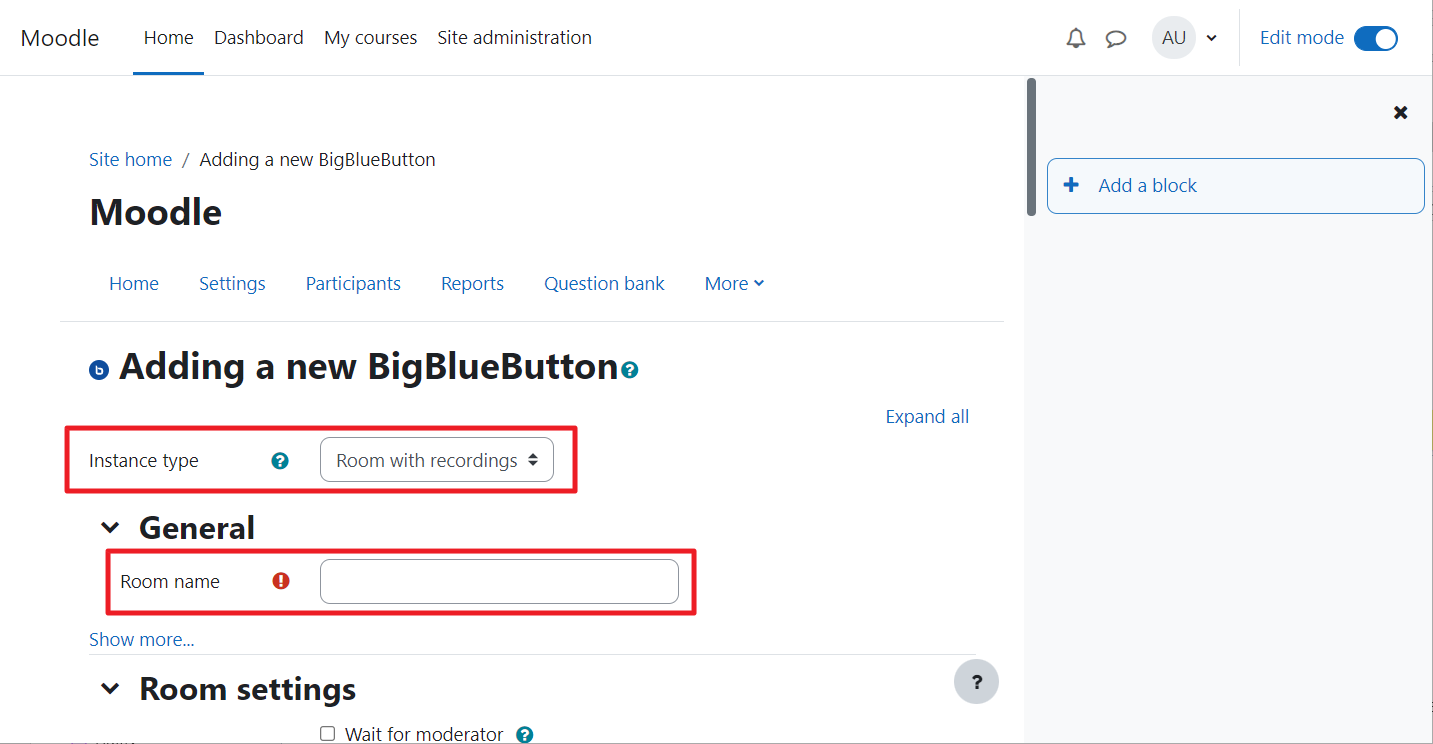
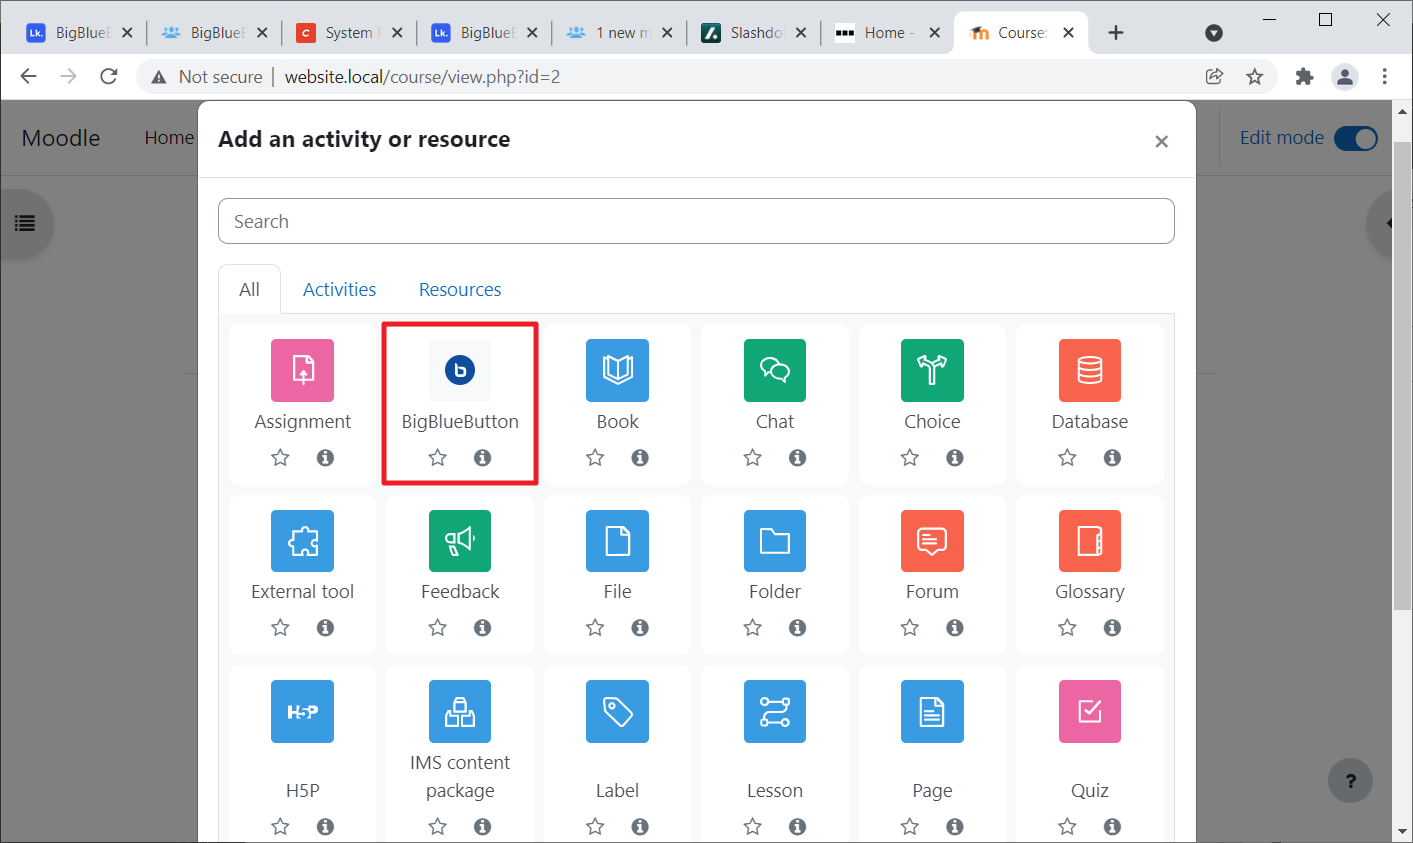
Step 20: Choose BigBlueButton
From the activity picker, select BigBlueButton.
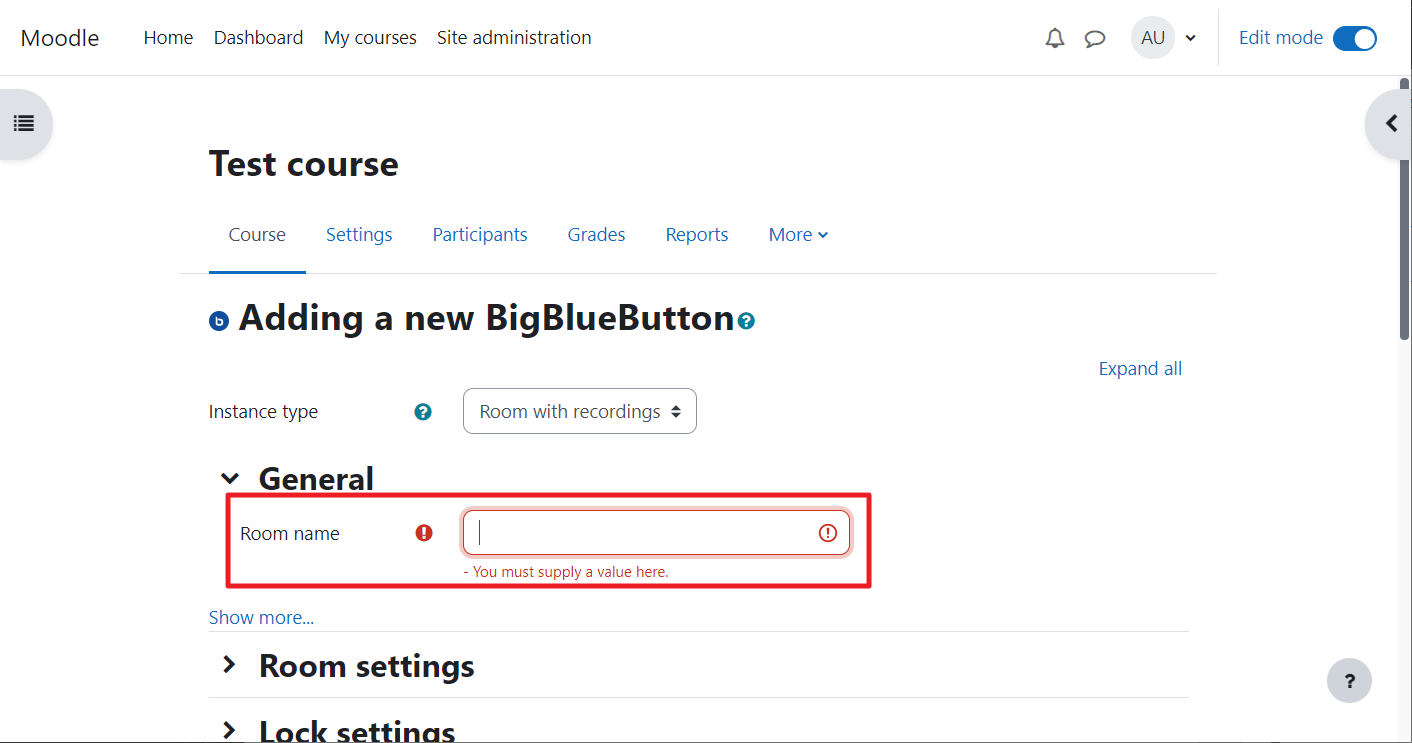
Step 21: Provide a room name and recording option
Enter a Room name for this activity. You can also choose whether to allow recordings for this room.
Step 22: Explore room‑specific settings
Various settings can be configured on a per‑room basis by checking the appropriate options.
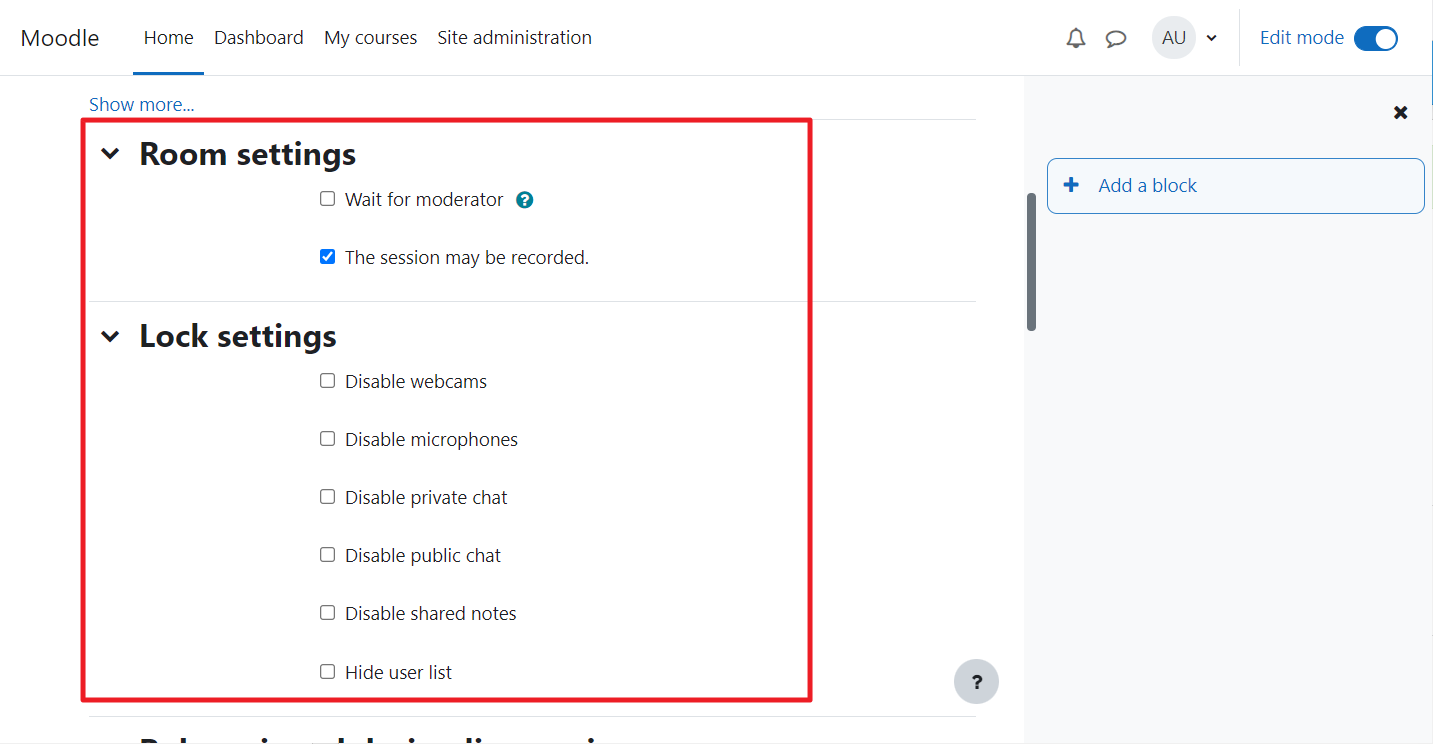
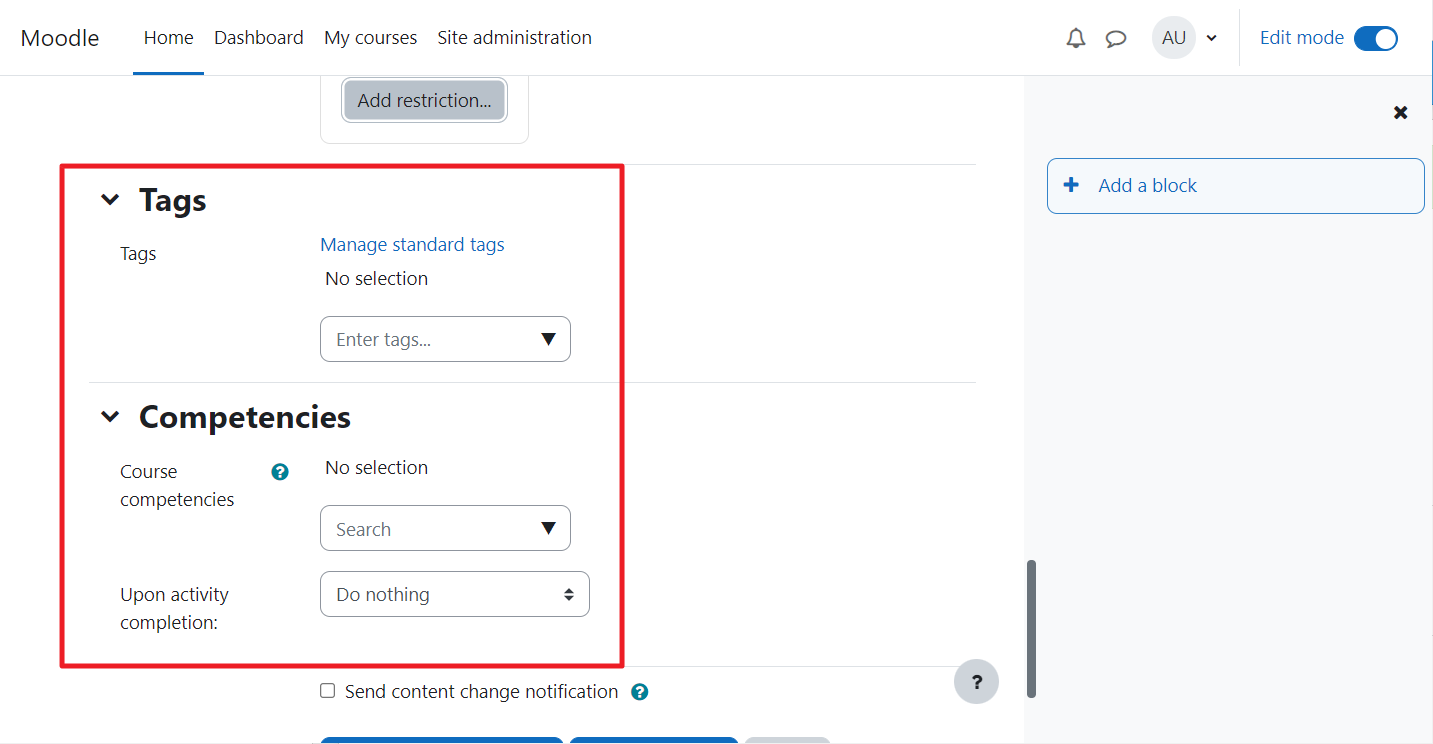
Step 23: Expand sections for more options
Each section provides additional controls to limit or customise the plugin’s behaviour.
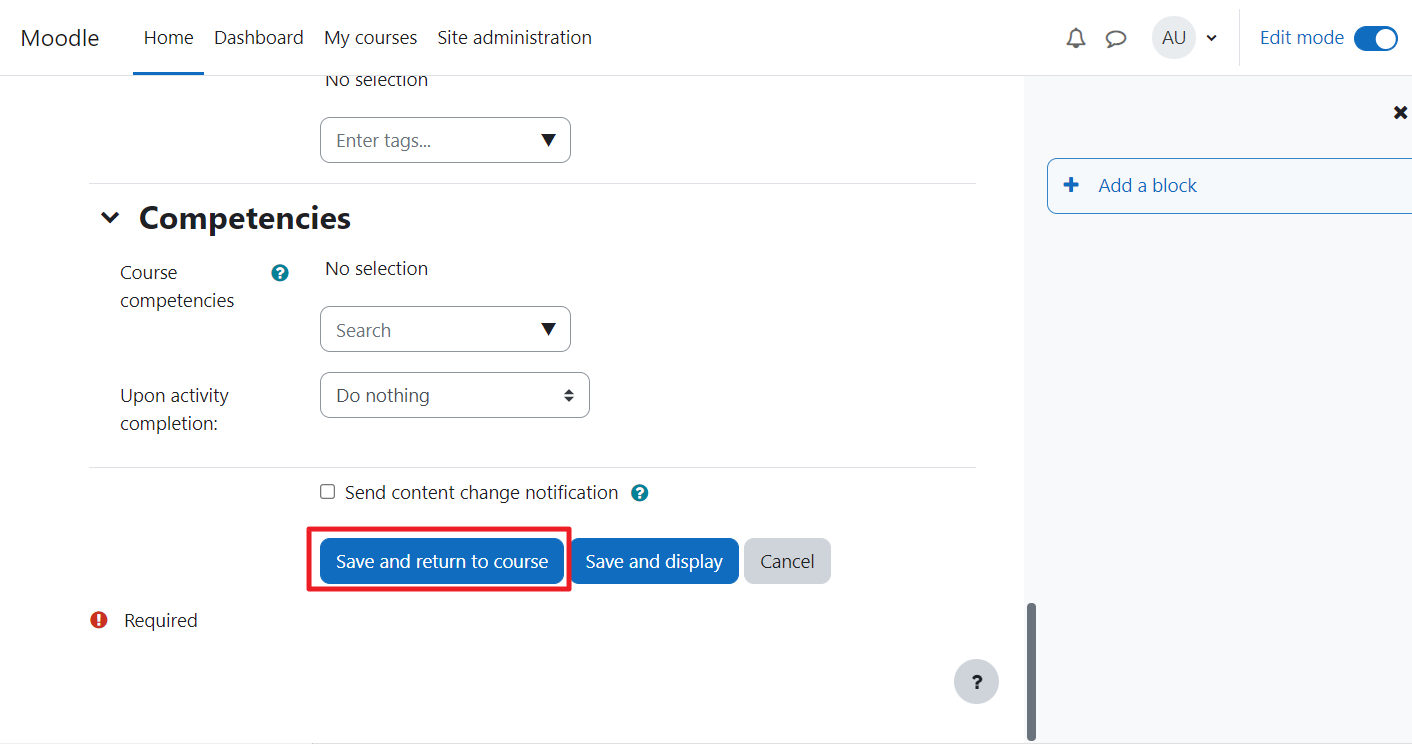
Step 24: Save and return or join the room
When you’re happy with the settings, click Save and return to course or Save and display to join immediately.
Step 25: Add a room to a specific course
You can also add a room directly to a course. Make sure Edit mode is still on, then click on the course name where you want to place the room.
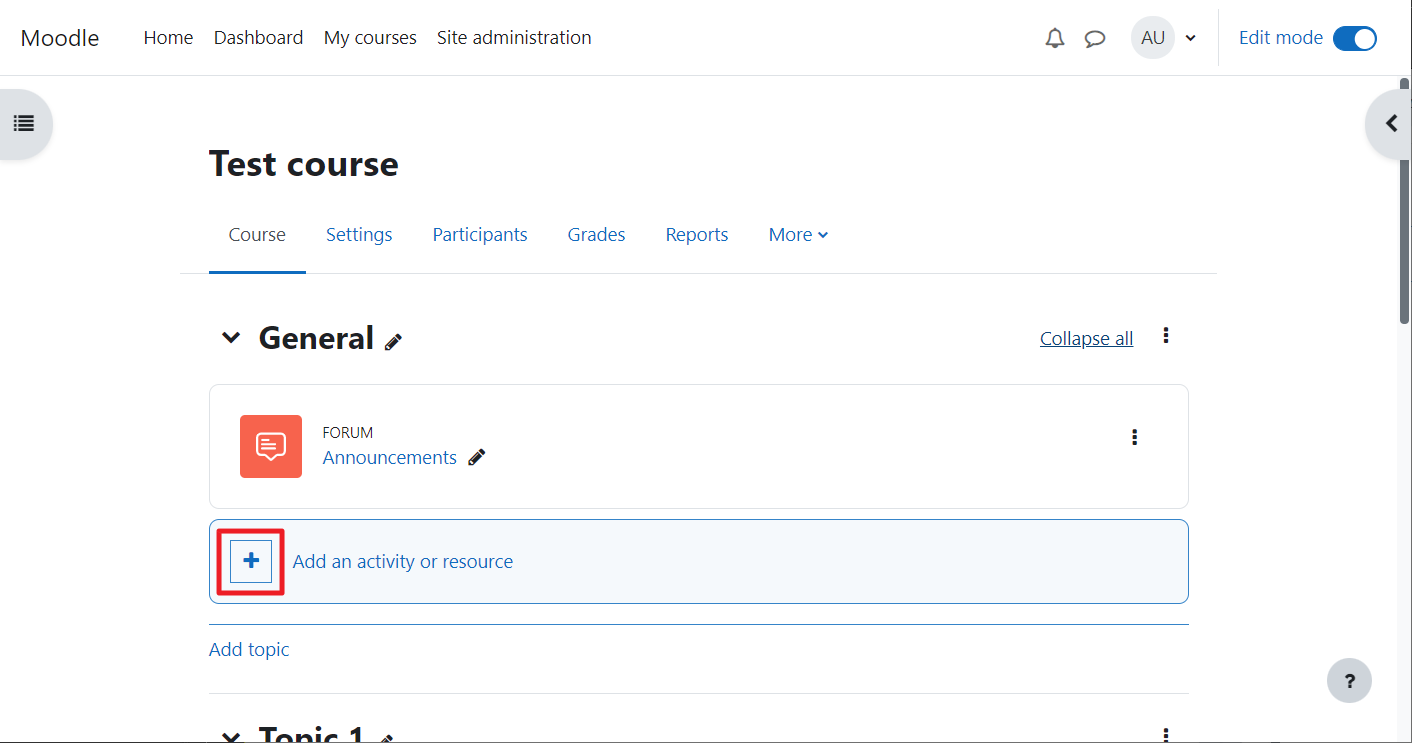
Step 26: Add an activity to the course
Click Add an activity or resource inside the course.
Step 27: Choose BigBlueButton again
Select BigBlueButton from the pop‑up.
Step 28: Name the course room
Enter a descriptive name for the room within the course.
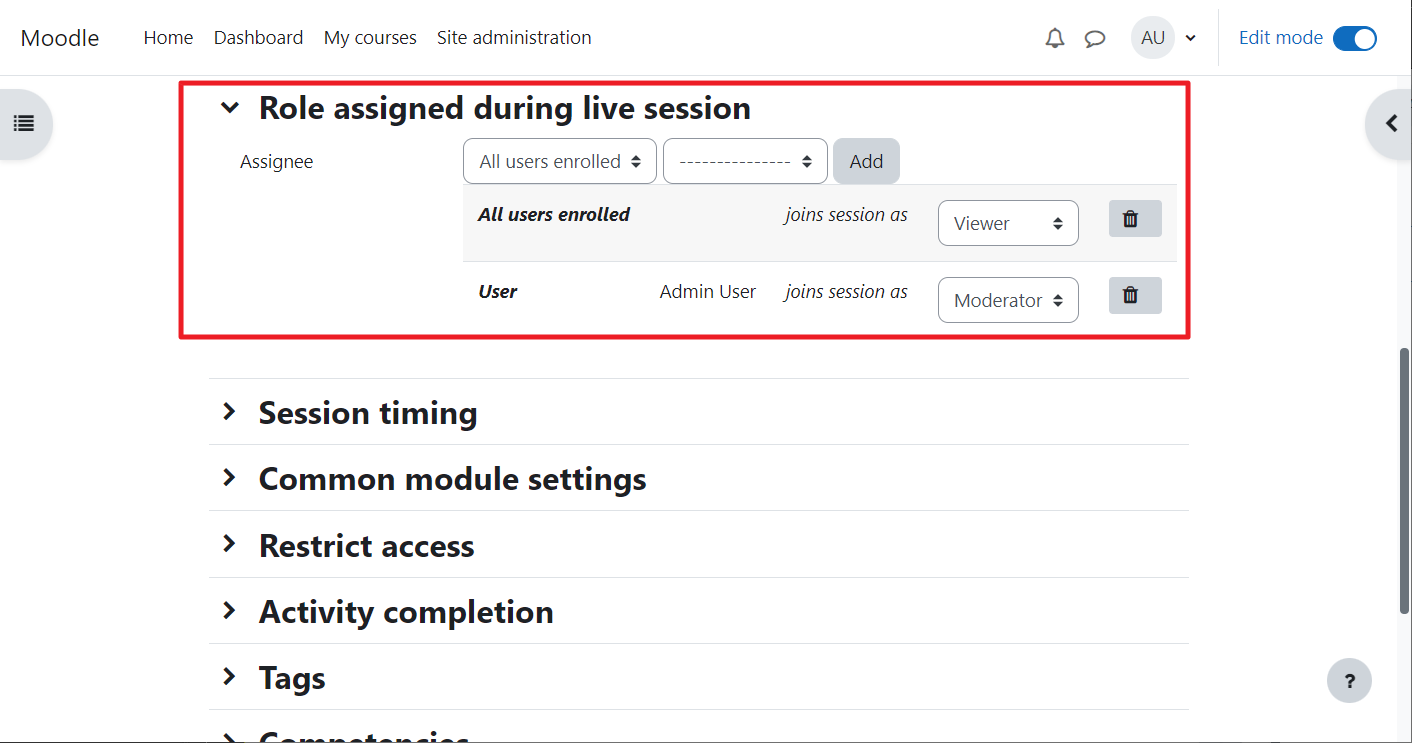
Step 29: Assign moderator and viewer roles
You can assign specific Moodle roles to be moderators or viewers in the meeting.
Step 30: Configure additional room options
Each room has multiple settings sections – click each to expand and customise as needed.
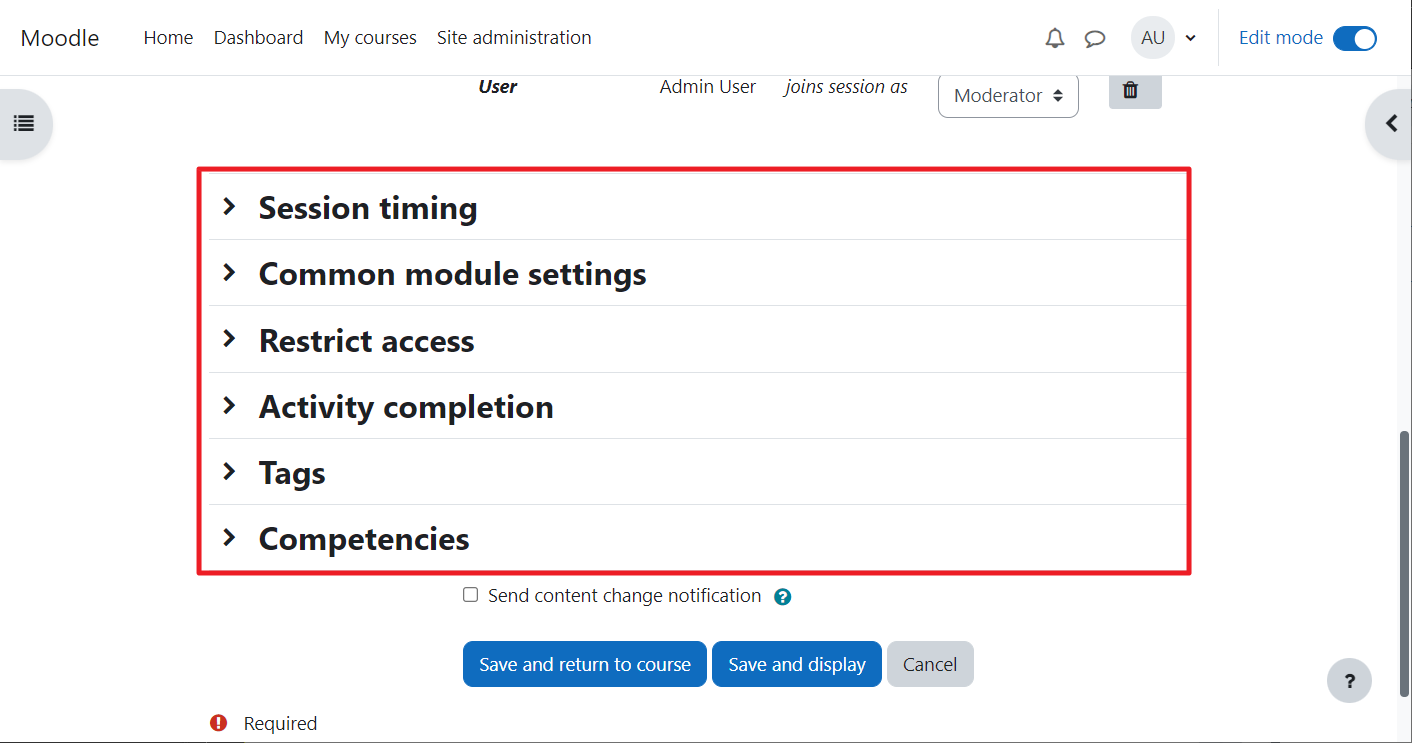
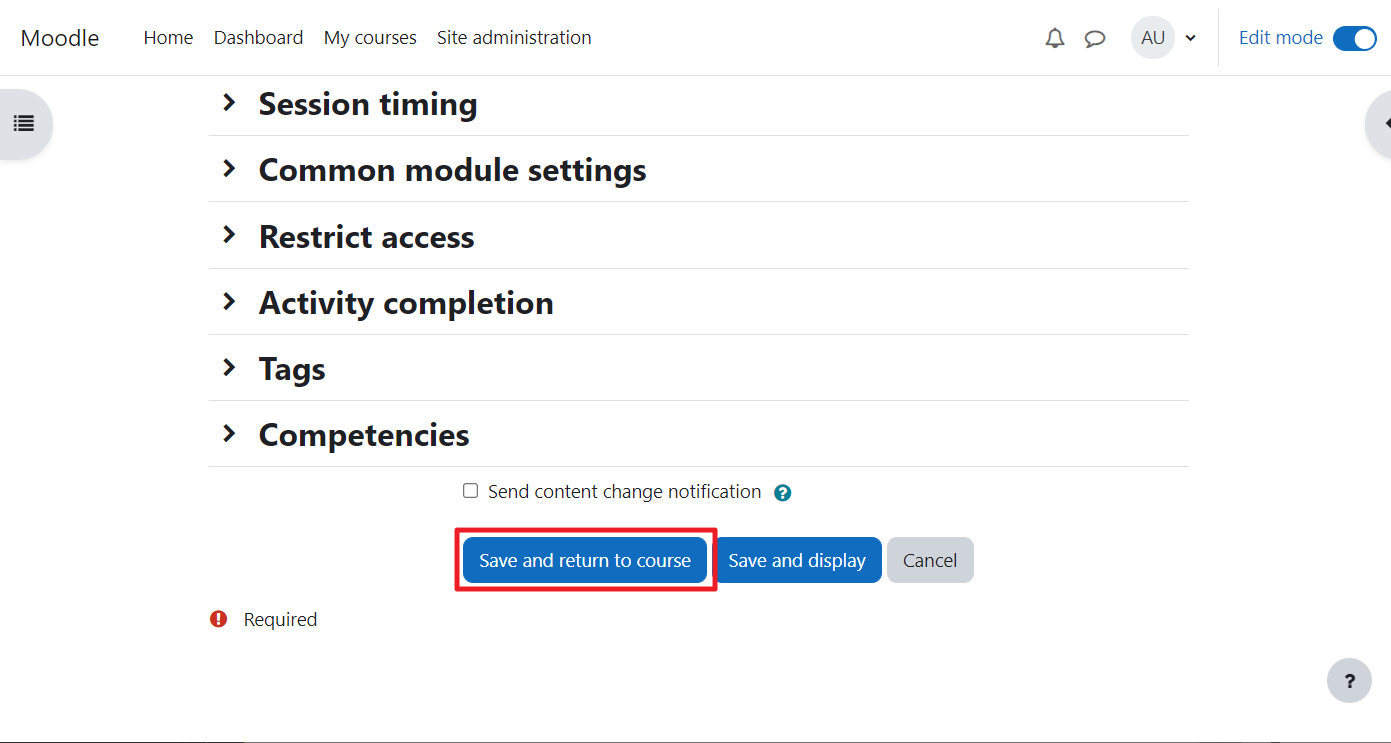
Step 31: Save and return to course
After configuring, click Save and return to course.
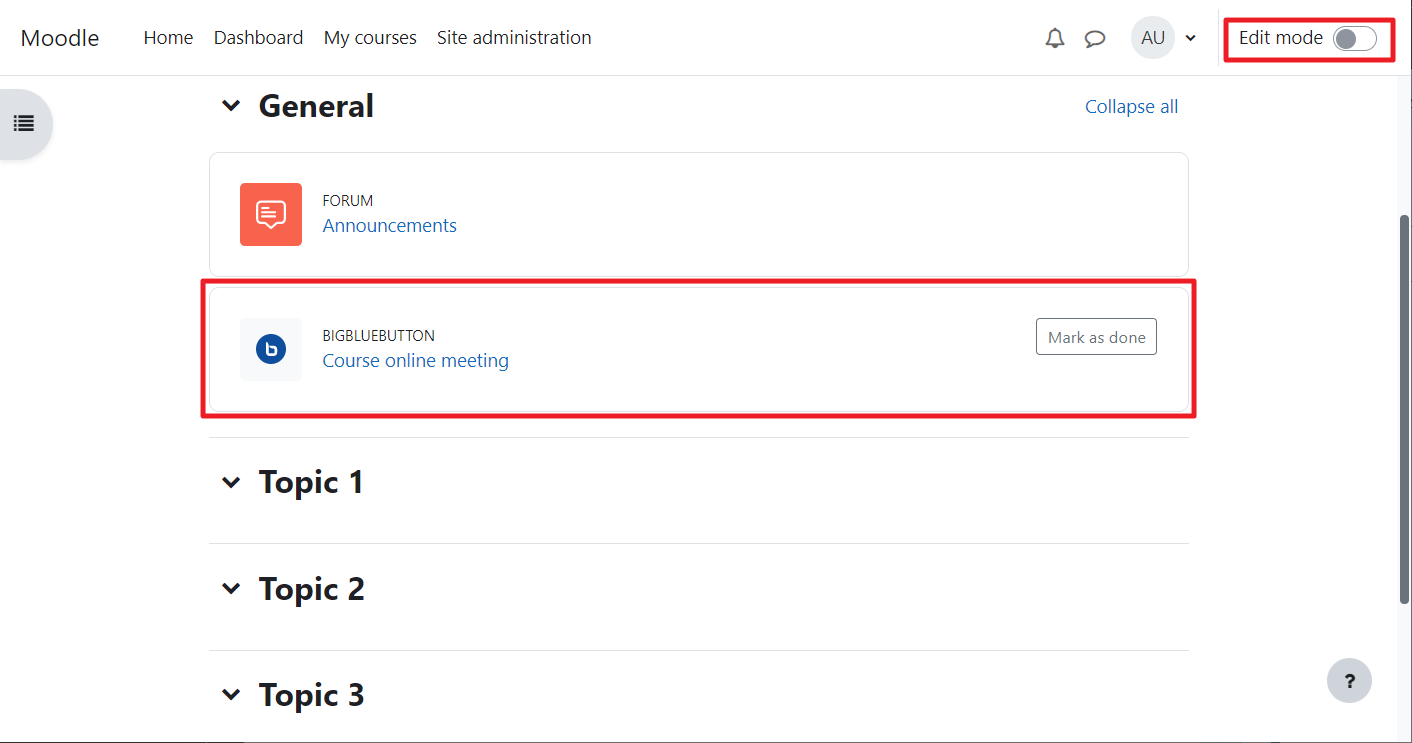
Step 32: Turn off Edit mode
Disable Edit mode to view the course as a student would.
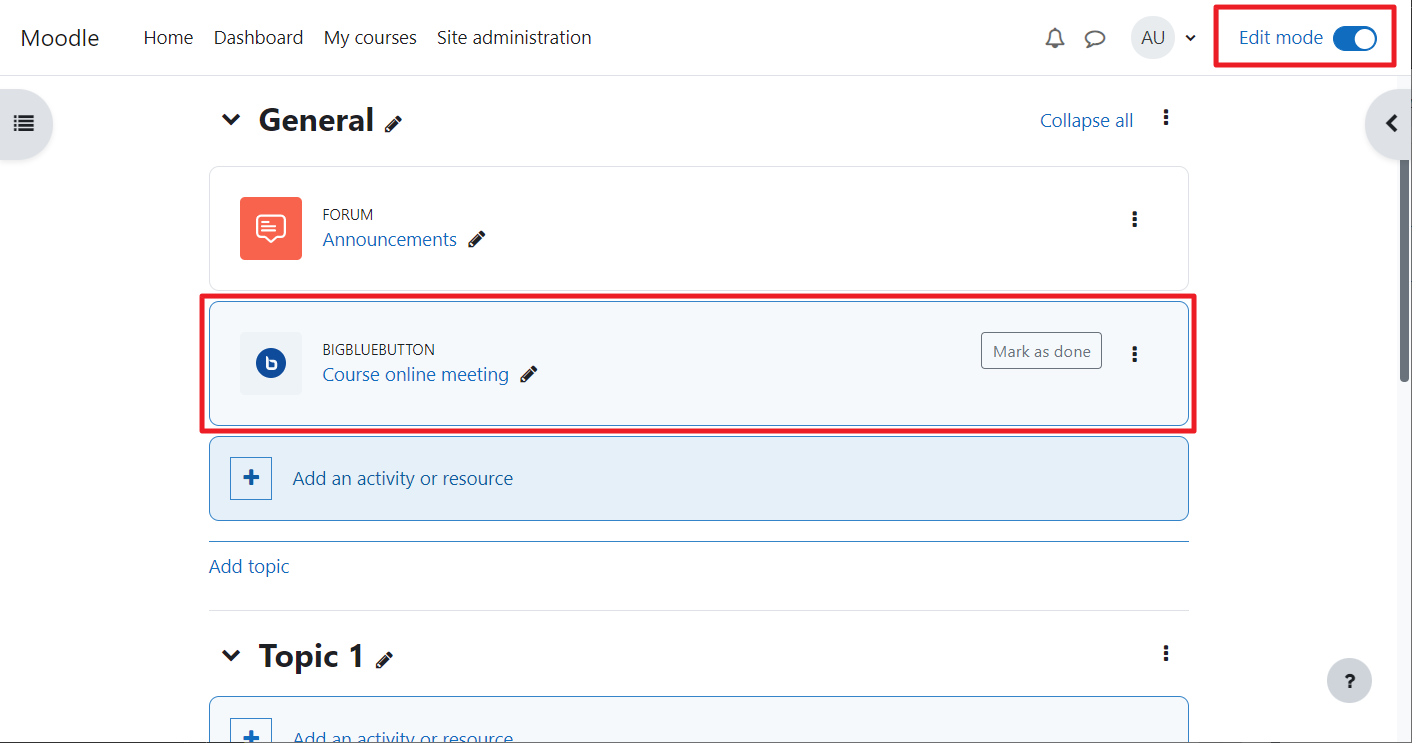
Step 33: Click the room name to enter
On the course page, click the newly created room link.
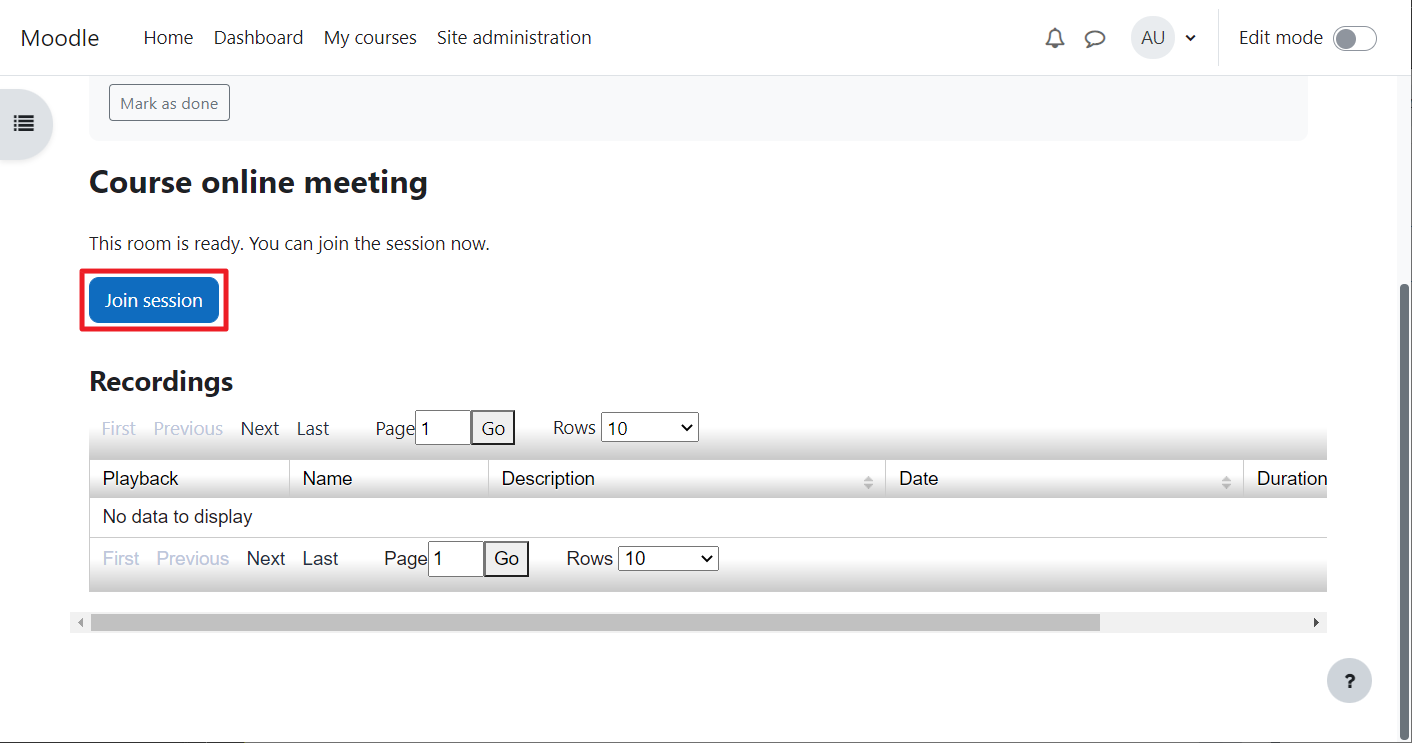
Step 34: Join the session
Click the Join session button to start the BigBlueButton meeting.
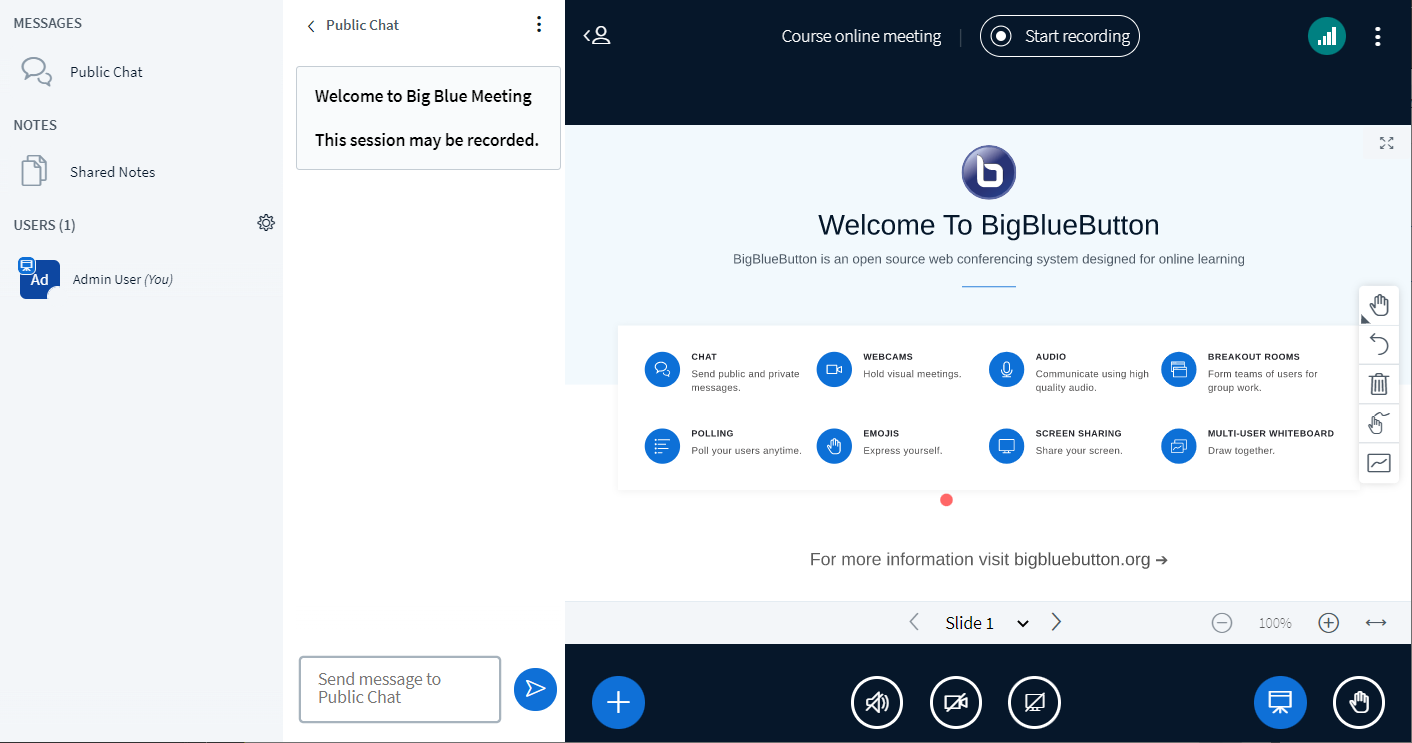
Step 35: You’re in the meeting
After a few seconds, you’ll enter the BigBlueButton session. Your integration is now working!
✅ Setup Complete
You have successfully integrated BigBlueButton with Moodle 4. You can now create rooms in any course, join sessions, and manage recordings – all from within your Moodle site.
To verify, create a test room and join the session as demonstrated in the steps above.